
The Placements tab provides a scroll-able funnel of information. Each category is labeled and color coded.
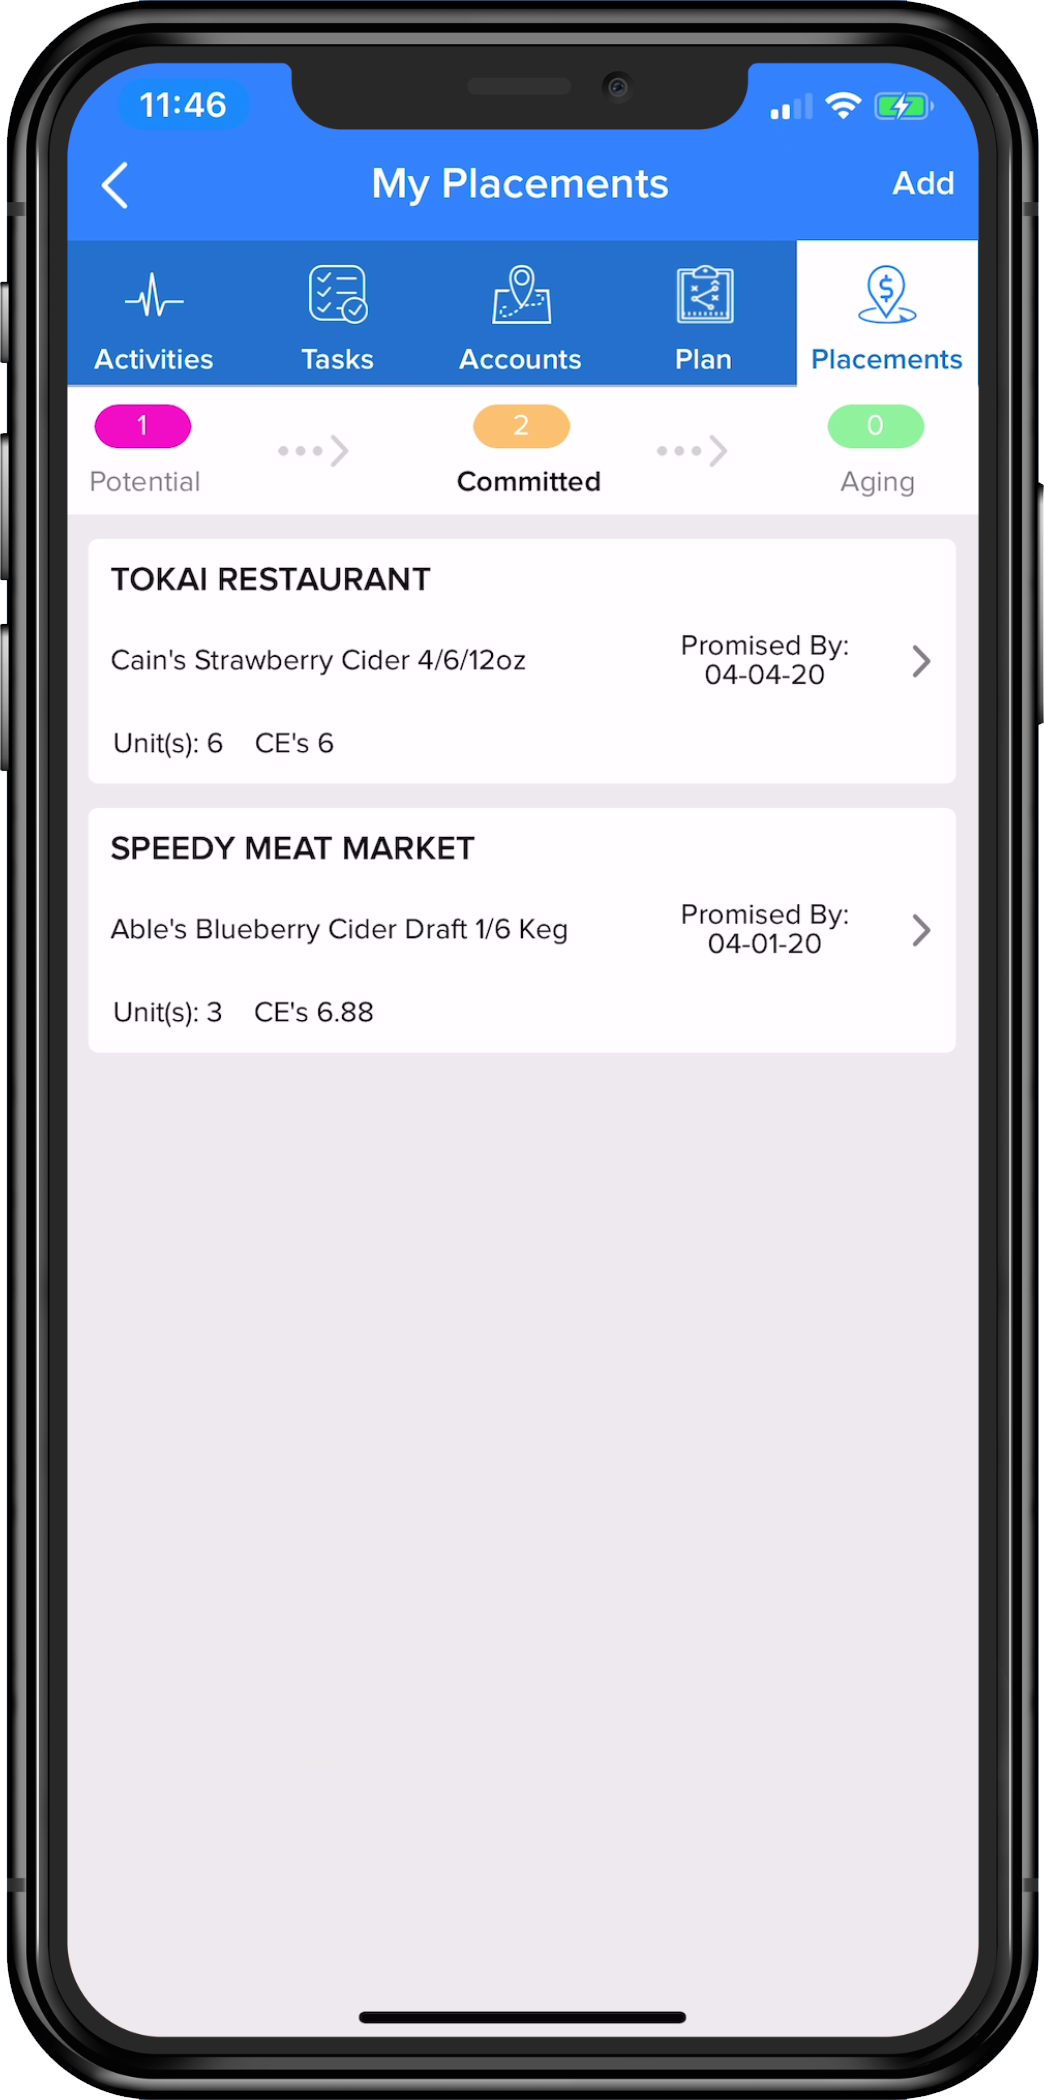
As you land on each funnel category, any placements that fall into that category will be listed beneath it. See the example below of the Committed category.
Understanding the Placements Feature
The Placements feature allows you to enter and give yourself credit for all the verbal commitments received from buyers out in the market.
Once those Placements are entered into Lilypad, the Placement Tracker (Funnel) provides users the visibility to track each of those Placements to ensure they convert from a commitment to a fulfillment.
Using the data connection that's setup for your Organization, Lilypad searches through the depletion/sales files being sent to us for each of your Distributors in order to find an invoice that matches each placement (commitment) entered by each user.
Placements convert to a fulfillment once the Lilypad system confirms that the invoice received matches 3 criteria: Account, Brand/SKU, and Units that the Lilypad user indicated when the placement was originally entered.
Understanding the Placements funnel
There are 6 different categories of the Placements funnel
Potential ---> Committed ---> Aging ---> Matched Issues ---> Fulfilled ---> Lost
Potential
The Potential category shows any accounts that have been added to the Potential Placement list (See Plan - Tab (Mobile) article for info on how to add to this list).
**NOTE: Nothing will move automatically from this portion of the funnel because there is not a specific SKU for the Lilypad system to track against when processing invoices. Users must either add a placement from the account on this list which will move this to the Committed category or manually remove that account from their list.
Committed
The Committed category is the first stop for all Placements entered into the Lilypad app.
When selected, you can view: Name of the account, the specific Brand & SKU committed to, the number of units requested, the total number of CEs the placement is worth, and either the Promised By date or Days Open.
The Promised By date will change to display Days Open once the date indicated arrives.
The change to Days Open indicates how many days it has been since the Promised By date has passed and the day amount timer on the Placement has started.
**NOTE: Once the day amount timer begins, the placement will only sit in the Committed category for a default total of 21 days (Admins can customize this time frame to the individual preferences of their Organization).
Aging
The Aging category is where a placement goes if it has not matched under Committed, it then moves to this category of the funnel while Lilypad continues to search for incoming invoices to match to it.
If the placement does not match from here, it will move to the Lost category of the funnel.
**NOTE: The placement will sit for another default 21 days in this category. (Admins can customize this time frame to the individual preferences of their Organization).
Matched Issues
The Matched Issues category is where a placement will go if the invoice received by Lilypad did not exactly match the SKU or the unit quantity originally indicated when the placement was entered, resulting in only a partial match.
To be in this category, the Placement matched for at least one of the aforementioned reasons: SKU or Unit discrepancy .
When a placement enters Matched Issues it will sit in that category of the funnel indefinitely. You can proceed two ways -
- Accept and Close. This will accept the product that has already landed and push it to the Fulfilled category of the funnel while moving the remainder of the product into the Lost category of the funnel.
-
Accept and Wait for Exact SKU Match: Take credit for what already landed in the account and move the remainder back to "Committed." This will appear as a separate commitment and the "clock" will start over on the number of days open (depending on how the placement settings were configured).
For example, if 1 unit our of 5 were matched, and you hit this option, you get credit for 1 unit, and the other 4 appear as a new commitment.
** NOTE: If neither of these are acceptable, and you need a placement to be manually matched then you will need to reach out to your manager and request the placement be manually matched for you.
Fulfilled
When a placement matches 100%, the Fulfilled category will show credit for the placement.
The Fulfilled category displays: Monthly Date Range (can be changed), the total committed placements entered for the selected month, the total fulfilled placements for selected month, total remaining placements for the selected month, and closing percentage of those Total Placements.
It also displays those same totals (committed, fulfilled, remaining) in CEs, as well as the overall Total CEs for the selected month.
Lost
The Lost stage is the stage where ALL placements that have timed out in the Lilypad system without ever matching to an invoice will enter. The placements in this stage are based on the month they were committed.
It may be helpful to think of this stage as a sort graveyard where placements go to die. Once a placement enters the Lost stage, Lilypad is no longer tracking for an invoice which means that placement will not match and the user will not receive credit for it.
How to Add a Placement
Along with being able to track Commitments to Fulfillment, users can also Add Placements from the Placements tab. **NOTE: User can also Add Placements while in an Activity or Task.
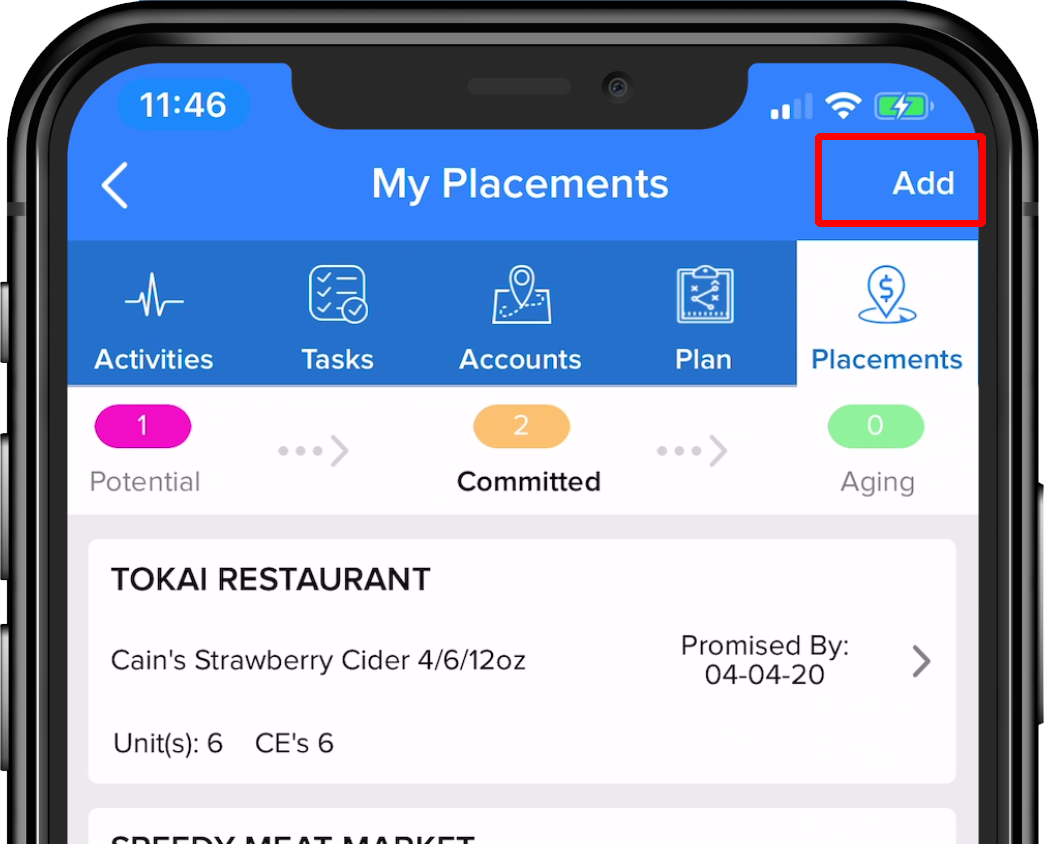
- While in the Placements tab, click the word Add in the top right corner of the screen.
- Search for and select the account that this Placement is being made for.
- If necessary, enter the Approved By (account) contact information as well as the Distributor Contact information.
- Click on either Draft or Package depending on the type of Placement being made.
- Press the blue SELECT button to choose the SKU.
- Enter the number of units that the account is committing to.
- Set a Promised By date-
- Choosing a Promised By date, determines in Lilypad how long that Placement will sit in the Commitment portion of the funnel.
- It is suggested that the Promised By date is set for a minimum of 7 days from the date that the Placement is being entered. Example: Beer Rep John is creating the Placement on January 1st, he sets the promised by date for January 8th.
- Lilypad defaults to 21 days in the Committed category of the funnel. If the Placement has not yet matched to an invoice by that Promised By date, the Placement will move to the Aging category and sit for another 21 days awaiting an invoice that matches. **NOTE: This time frame can differ based on the specific organization’s settings, so check with an admin or manager to confirm Placements funnel time frame setup for your organization.
- Add any notes about the specific placement if there’s something unique to note.
- If there are additional SKUs that this account is committing to, click the Add More button in the bottom left corner of the screen and repeat the steps above.
- Once all of the products are logged, click either Done button in the bottom right corner (logs the placement in Lilypad immediately) or Done & Share at the bottom center of the screen (logs the placement in Lilypad immediately and auto-generates an e-mail that can be shared with the management team and/or the distributor).
**NOTE: Lilypad starts comparing incoming invoices to the Placement funnel from the moment it enters the funnel. Incoming invoices varies widely on when they are received through the data connection type established with Lilypad.