
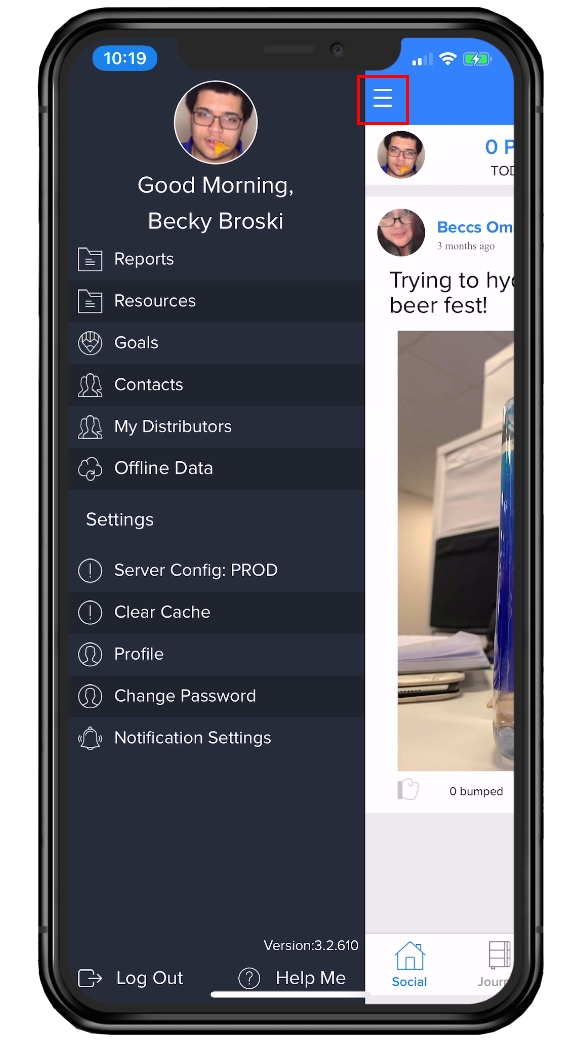
The sidebar menu of the mobile app, can be accessed via the hamburger menu in the top left corner of the social wall screen (see the red, boxed area above). All of the following menu items discussed, will require this sidebar to be view-able.
Reports - Sidebar
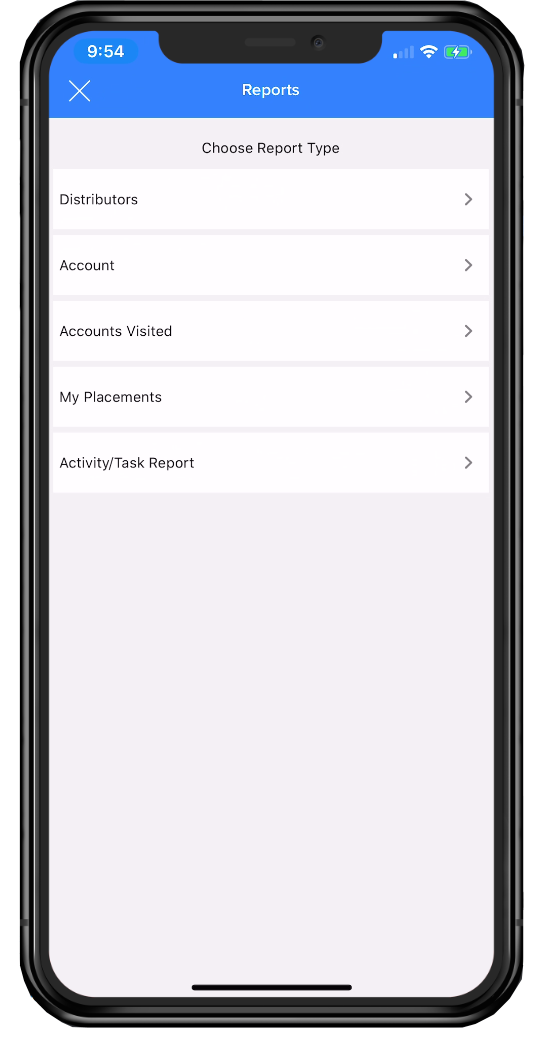
Running Reports
- Click on the “Reports” tab.
-
Choose the report type to run:
-
Distributors (AKA - Market Recap report)
- Click the 'Choose a Distributor' button to select a specific Distributor to pull the report for.
- Click on one of the boxes to choose the time frame to run the report for. There is a Custom choice as well.
-
Choose the format in which to review the report.
-
“Excel” creates an excel spreadsheet that is e-mailed directly to the e-mail associated with the current user.
- For this choice, select the specific Activities and Tasks to include.
-
“Web” creates a Lilypad specific web-based format that can be shared with distributor reps via an open link, meaning they do not need to have a Lilypad login in order to view the report.
- For this choice, there are two options. "Include only entries submitted by me" or "All entries regardless of user" under that distributor’s footprint in the selected time frame.
-
“Excel” creates an excel spreadsheet that is e-mailed directly to the e-mail associated with the current user.
- Click “Run” at the bottom of the screen.
-
Account
- Choose a specific Account to run a report on.
- Choose the time frame to see the activity that was logged within the account.
- Choose the Activities/Tasks to include in the report.
- Click “Run” at the bottom of the screen.
-
Accounts visited
- Choose the time frame to view the Accounts that have been visited.
- Click “Run” at the bottom of the screen.
-
My Placements
- Choose the time frame to view all placements made in the system at that point in time.
- Click “Run” at the bottom of the screen.
-
Activity/Task Report
- Choose the time frame to view specific Activities /Tasks that have been completed.
- Choose the specific Activities/Tasks to include in the report.
- Click “Run” at the bottom of the screen.
-
Distributors (AKA - Market Recap report)
Brandfolder - Sidebar
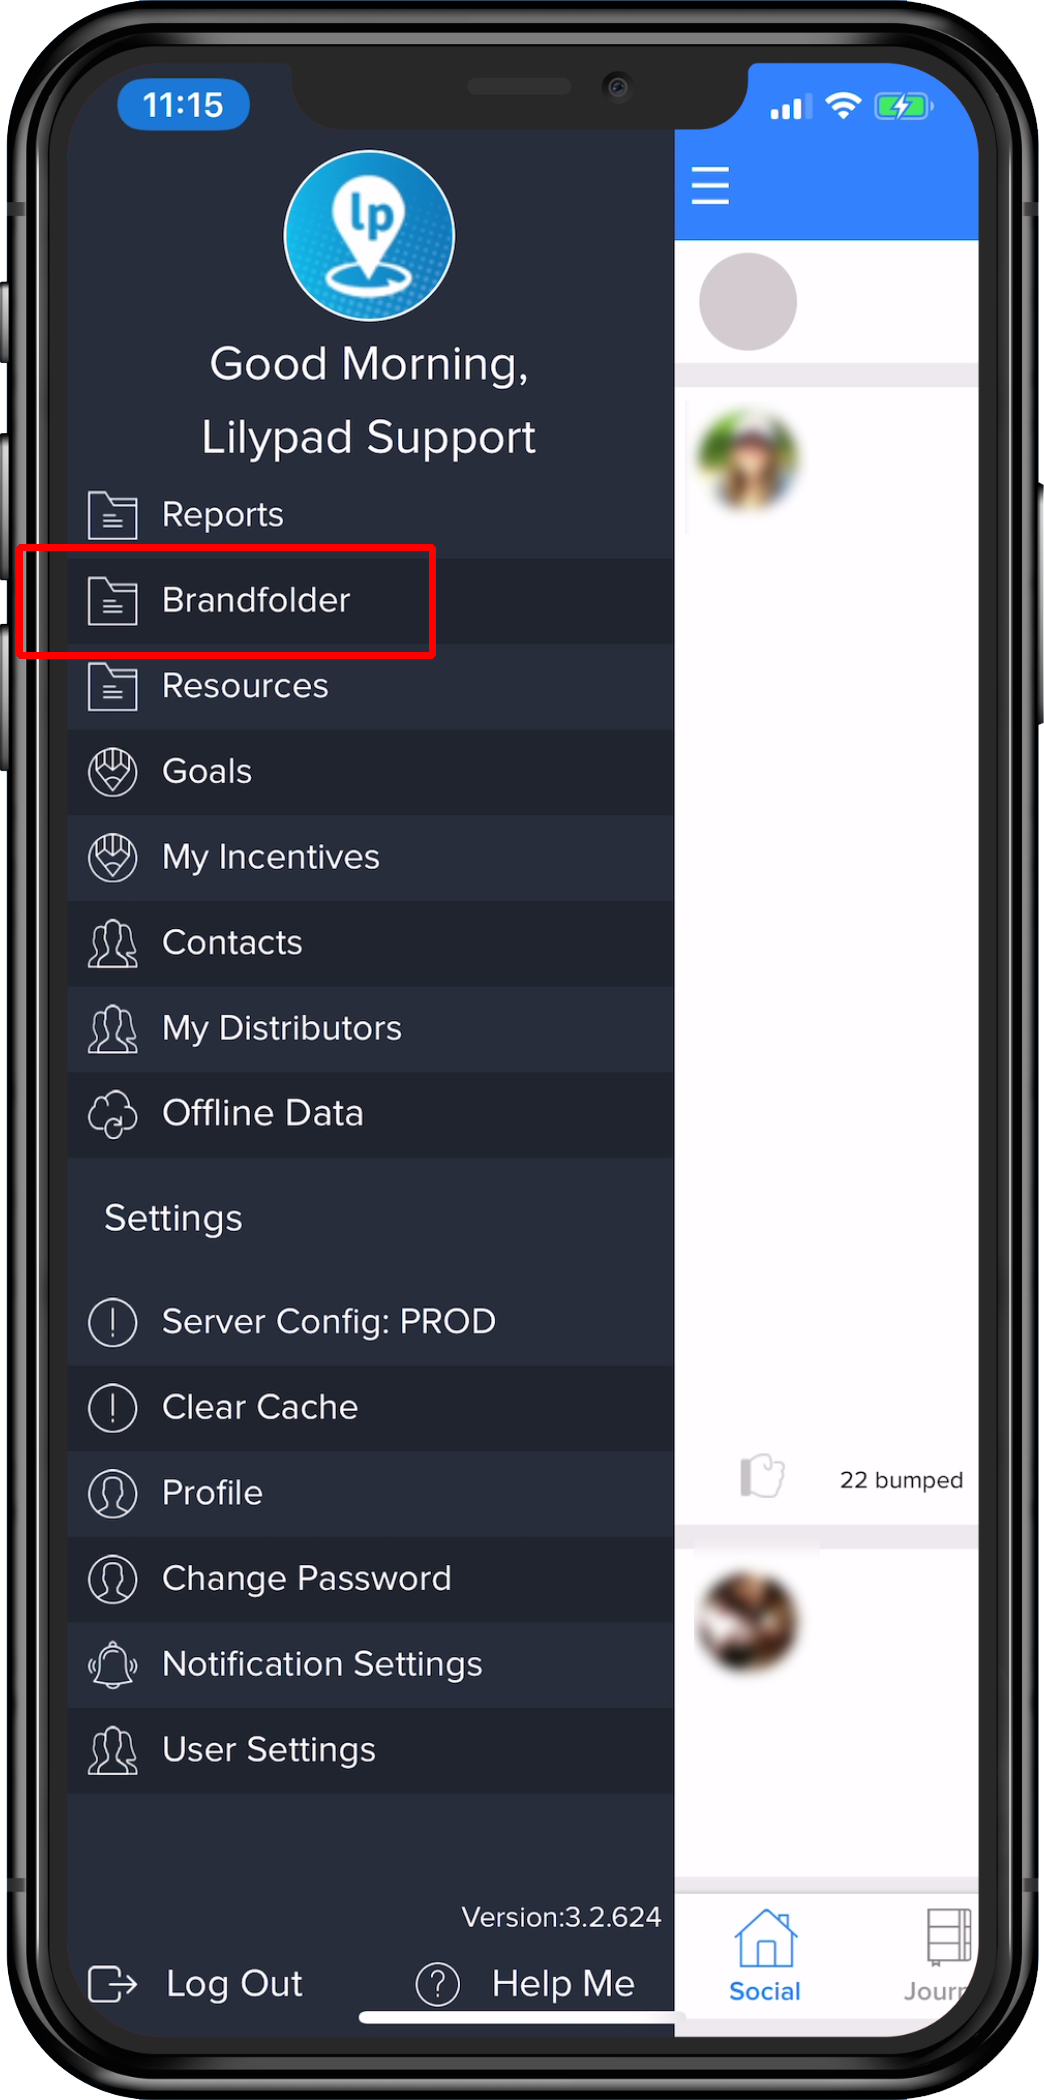
**Only available if the organization has a Brandfolder integration. This will contain specific graphics and information as related to Brandfolder. This functions much like the Resources menu item.
After clicking into the Brandfolder page, the user will be directed to the organization’s Brandfolder collections and digital assets.
Resources - Sidebar
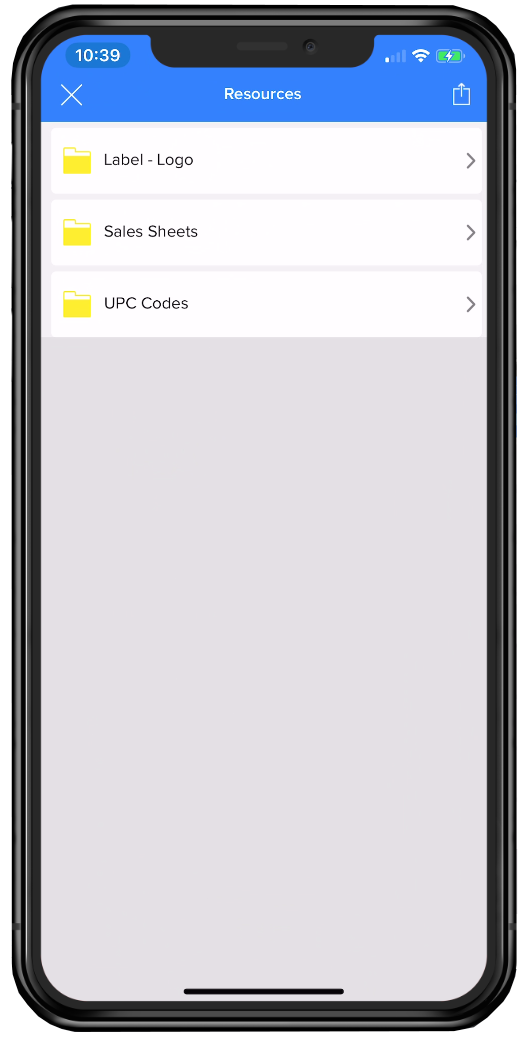
How to Access and Share Resources
- Click on the “Resources” tab.
- Locate the file to utilize - it should be housed within any one of the included folders.
-
Click on the file to view or retrieve.
- If the purpose is to only view the resource, click on the file name and the file will open within the app.
- If the purpose is to share the file, click on the file name and then click the “Export” button in the top right corner of the screen.
- If sharing multiple files; instead of clicking in on an individual file, leave the view as a list and click the export button in the top right corner of the screen, then click on each file that is to be shared.
For more information on how a user can upload additional items to this folder, please see our documentation here: Resources - Sidebar .
Goals - Sidebar
How to View Goals and Goal Progress
- Click on the “Goals”tab.
-
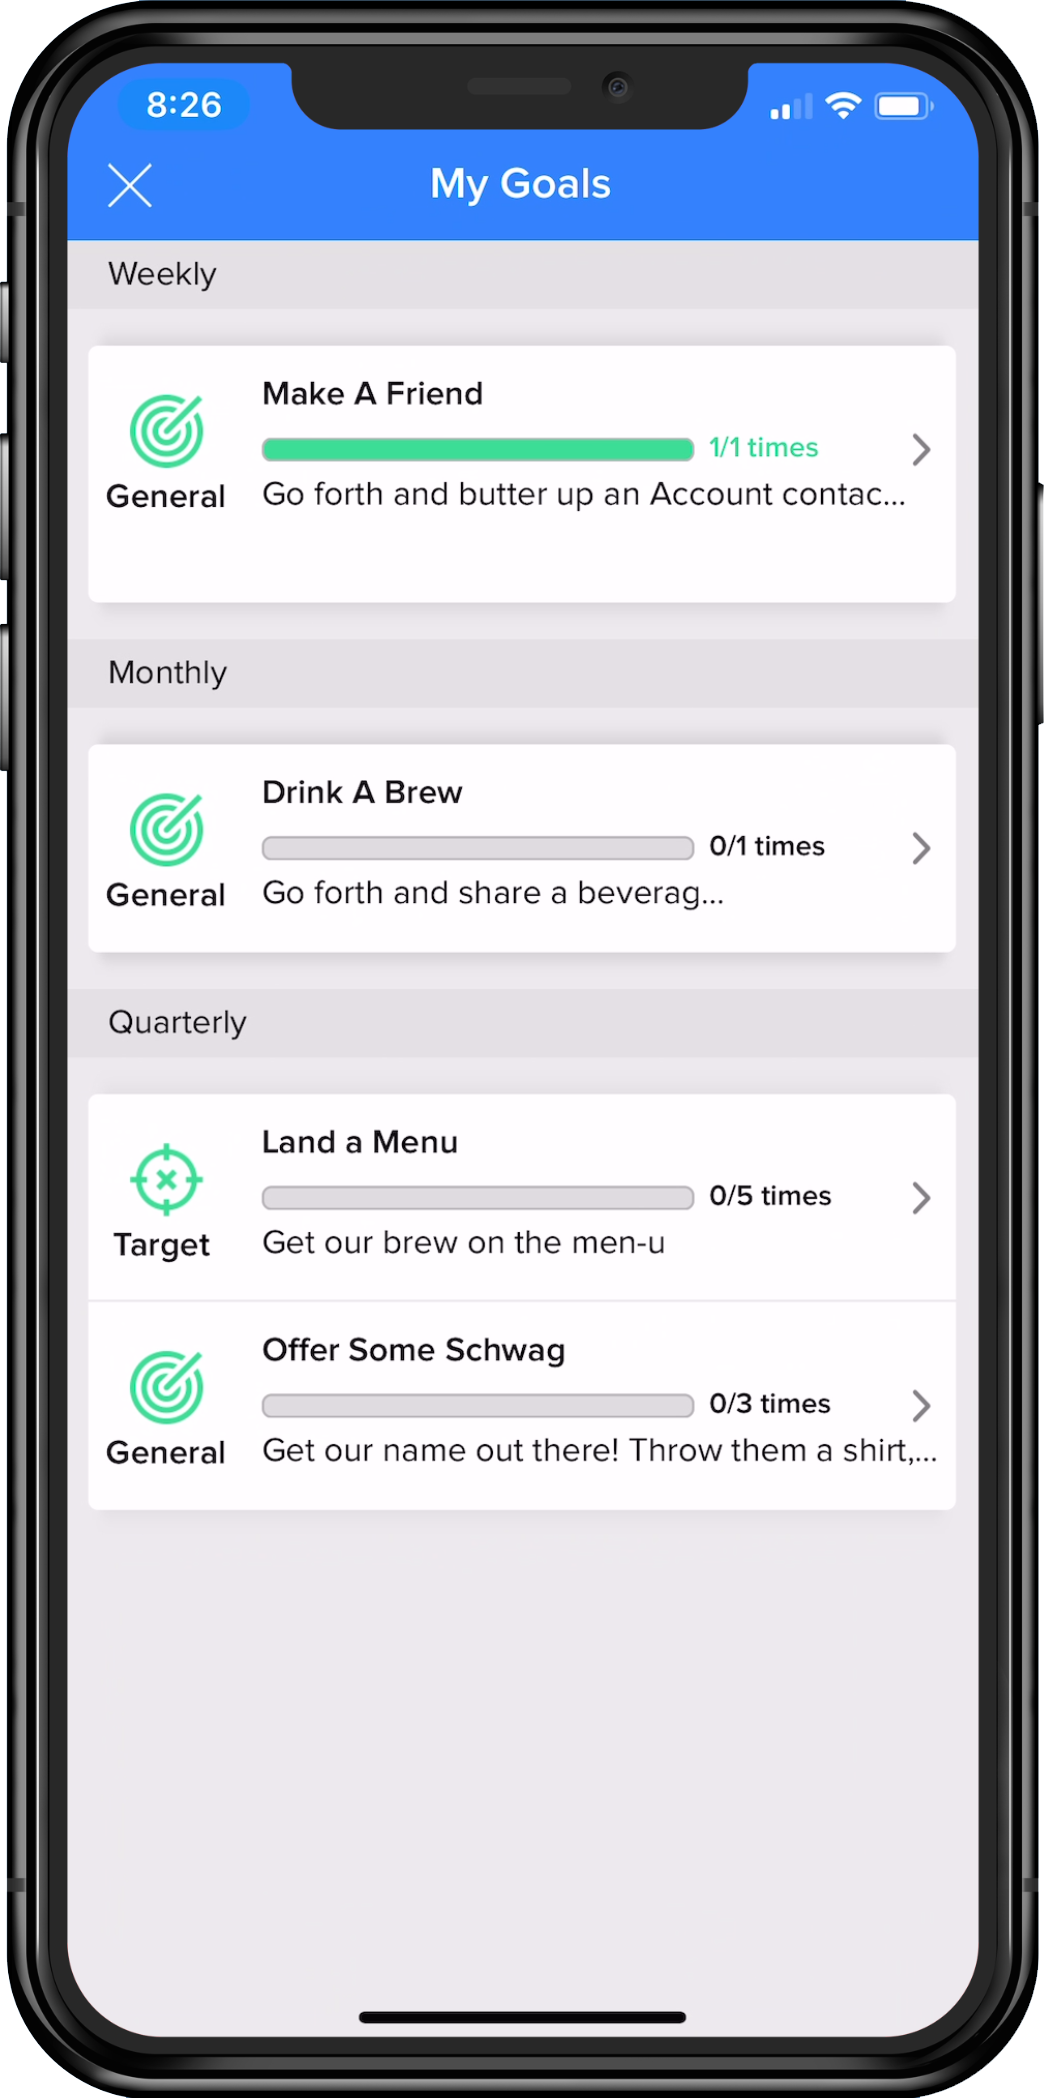
A list view of all goals will populate the screen.
- To the left side of the screen, if a goal says “General”, it is tracking against anything logged within the overall account universe. If a goal says “Target”, it is tracking against a specific target list (Target Lists can be found within the Blue Pushpin > Plan tab).
- At the top of the goal bar is the name of the goal.
- Below the name is a progress bar. This is a quick visual indication of how close the goal is to being accomplished.The color yellow in the tracker bar, indicates that there is still more needed to accomplish the goal. If the tracker bar has filled completely with green, the goal has been achieved or surpassed.
- To the right of the progress bar, the bottom number indicates how many points/sales/counts are needed to achieve the goal and the top number is how many have been achieved to-date.
- Below the progress bar is a description that explains what the target value is and how the goal can be accomplished. This description is not always filled out by the manager.
If the arrow to the right of the goal is clicked on, it will populate the screen with additional information as it pertains to that goal - 3 tabs will appear:
- Details – shows the specific entries made that have counted towards this goal.
- Overview - Denotes the details about the goal.
- History – shows historical trends in regards to achieving this goal (if it is a recurring goal).
My Incentives - Sidebar
The My Incentives page is not available to all users. If this feature is active in the sidebar, it's main purpose is to provide data to users on where they stand regarding execution against a current Incentive plan(s). There are a few data points provided and those are listed below.
Beneath the Current Total Payout header (cumulative payout for all incentives listed), there is a list of active incentive plan(s). In this view, a user will see the name of the incentive and its payout frequency, as well as how much was earned towards the overall payout. Click on any one of these incentives, to find the following information:
- Black Header: Name of the Incentive plan.
- Gray Bar: Date range being displayed for this incentive plan. This can be changed by clicking the blue arrow in the same header bar.
- Total Payout: This displays the current total payout for the incentive plan being viewed.
- Fixed / Pay Per Entry / Master Qualifier / Joint Attainment: The label depends on how the admin has the incentive set up. This set of data displays how much has been earned towards the pay out and how many total entries have been made that apply towards this incentive.
-
Metric & Earnings Section -
- Metric: This column displays each individual metric or Qualifier (as applicable), what the overall target value is, and what value the user will earn for anything included in a stretch goal (if applicable).
-
Earnings: This column notes the current amount earned for the associated metric.
- Click on the arrow to the right side of the earnings for an individual metric. A user will be able to see the payout type (fixed, pay per, mater qualifier, or joint attainment), measurement (what this metric is tracking against), measured by (whether we’re tracking number of times logged – count, or number of points earned – points), and accounts (if a user is allowed duplicate logs under unique accounts or if the accounts must instead be unique). The payout for each tier is also viewable (this applies if the qualifiers and/or stretch goals are in place) and the value for each tier.
Contacts - Sidebar
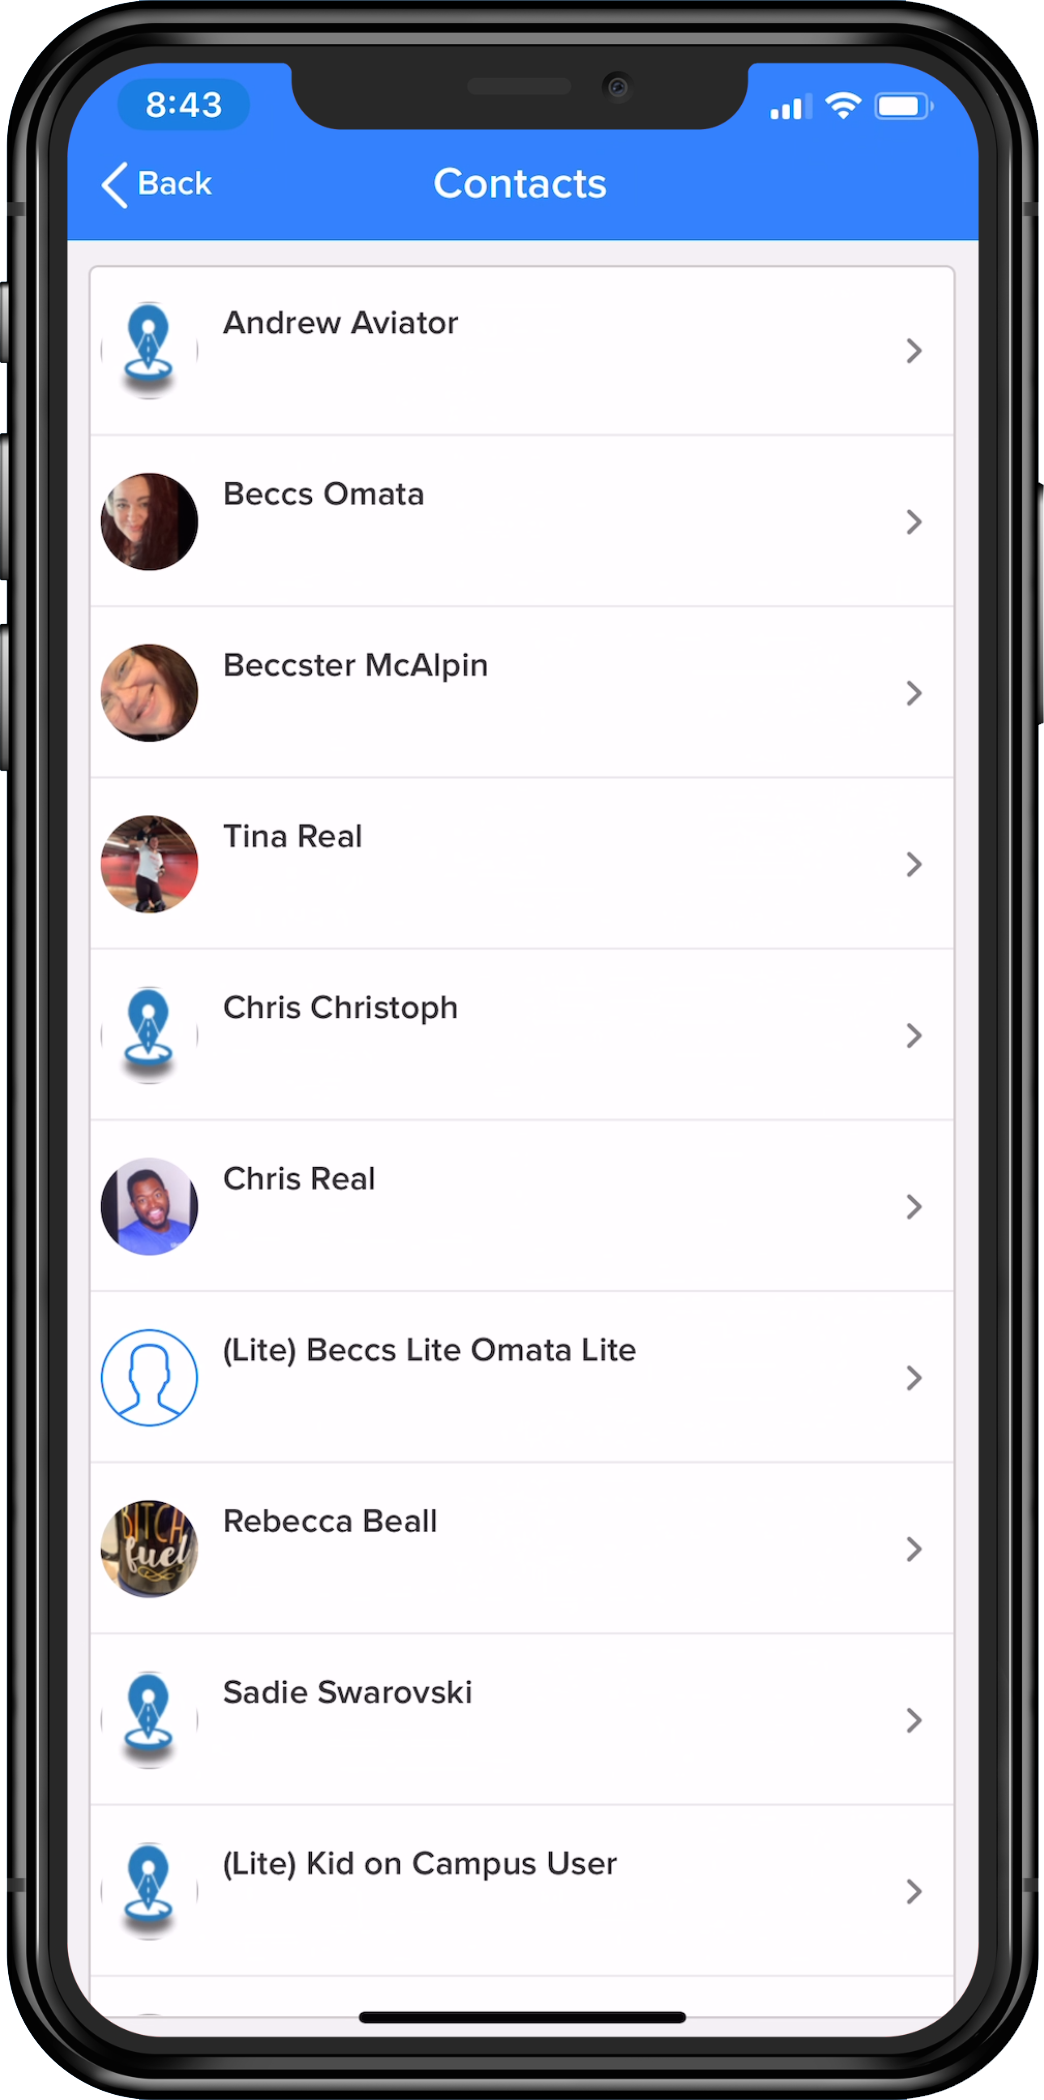
This is all of the Contacts listed within the Lilypad app. It should be comprised of teammates, managers and others who have access to the organization.
My Distributors / My Routes - Sidebar
Depending on whether the organization is a Supplier, Self-Distributed or a Distributor, will depend on how this Sidebar is labeled. The functionality within the tab however, is the same.
During the Lilypad mobile setup, this is required to be activated in order for the Accounts lists to populate.
How to View / Manage Distributors -
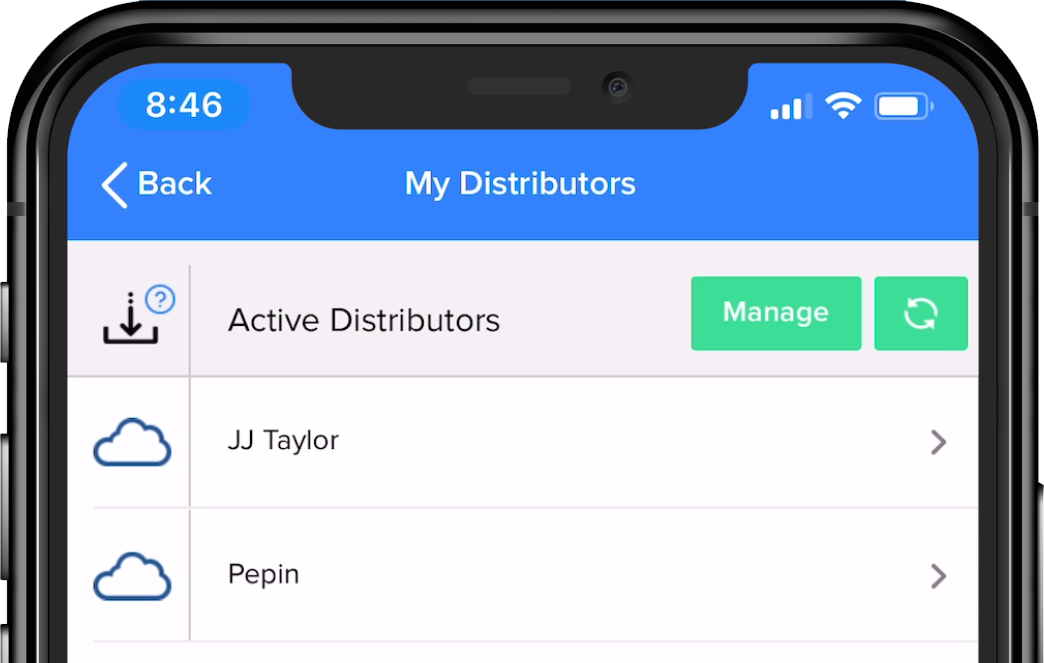
- Click on the “My Distributors” tab.
- An Active Distributors list will populate – this shows the distributors that are currently active in the app.
- To add ore remove distributors in this list, click “Manage” in the top right corner of the screen.
- Click on the distributors name to either remove a check mark or add one. A blue check mark to the right side of the screen means that the distributor will now be turned on for access. Once the edit has been made, click “Done” in the top right corner of the screen.
- The Active Distributors list automatically updates to show the changes made via the Manage page.
-
The arrow to the right of the distributors name can be clicked to see additional information about that Distributor. If Sales data is being received, two tabs will show. An Info tab and a Sales tab. If no Sales are received, then only the general information will be shown.
-
Info Tab (or general if no sales) -
- The number of activities/tasks logged under the distributor’s territory
- The number of individual accounts touched within that distributor’s territory
- A full list of distributor contacts
-
Sales tab -
- A previous year vs. this year to-date comparison of sales in this distributor’s territory.
- A graph that shows a month-by-month breakdown of sales within that distributor’s territory.
- A list of brands with a previous year vs. this year to-date comparison of sales for each individual brand. If a specific brand is clicked, a view will populate based on breakdown of sales previous year vs. this year to-date on a month by month basis and what individual SKUs were sold.
-
Info Tab (or general if no sales) -
Offline Data - Sidebar
Utilizing Offline Data Mode -
- Click on the “My Distributors” tab.
- Click on the cloud icon to the left of the distributor whose account universe will be downloaded for access while working offline.
- Click the “Do it!” button at the bottom of the window that pops up – this will download that account universe to the device.
- Once the download has completed, click the “Back” button in the top left corner of the screen.
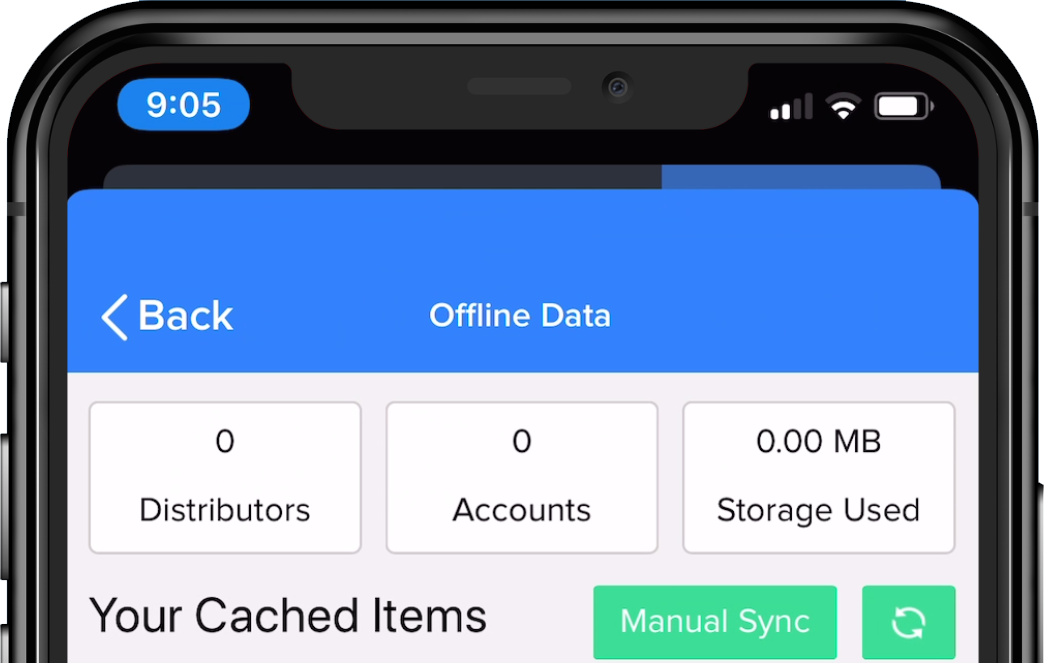
- Click on the “Offline Data” page.
- At the top of this screen, confirm the number of distributors and accounts that should be downloaded to the device. Additional information such as amount of storage and any cached items can be viewed in this space.
- Once the offline use is complete, make sure all cached items have been synced back up to the cloud before sending the entire account universe to the cloud and removing from the device.
Settings (Mobile) - Sidebar
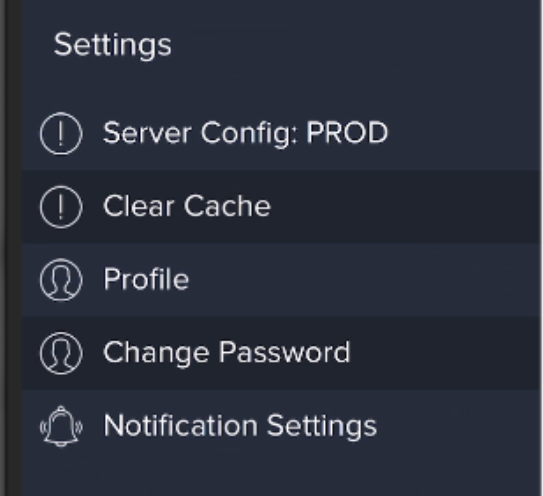
Clear Cache
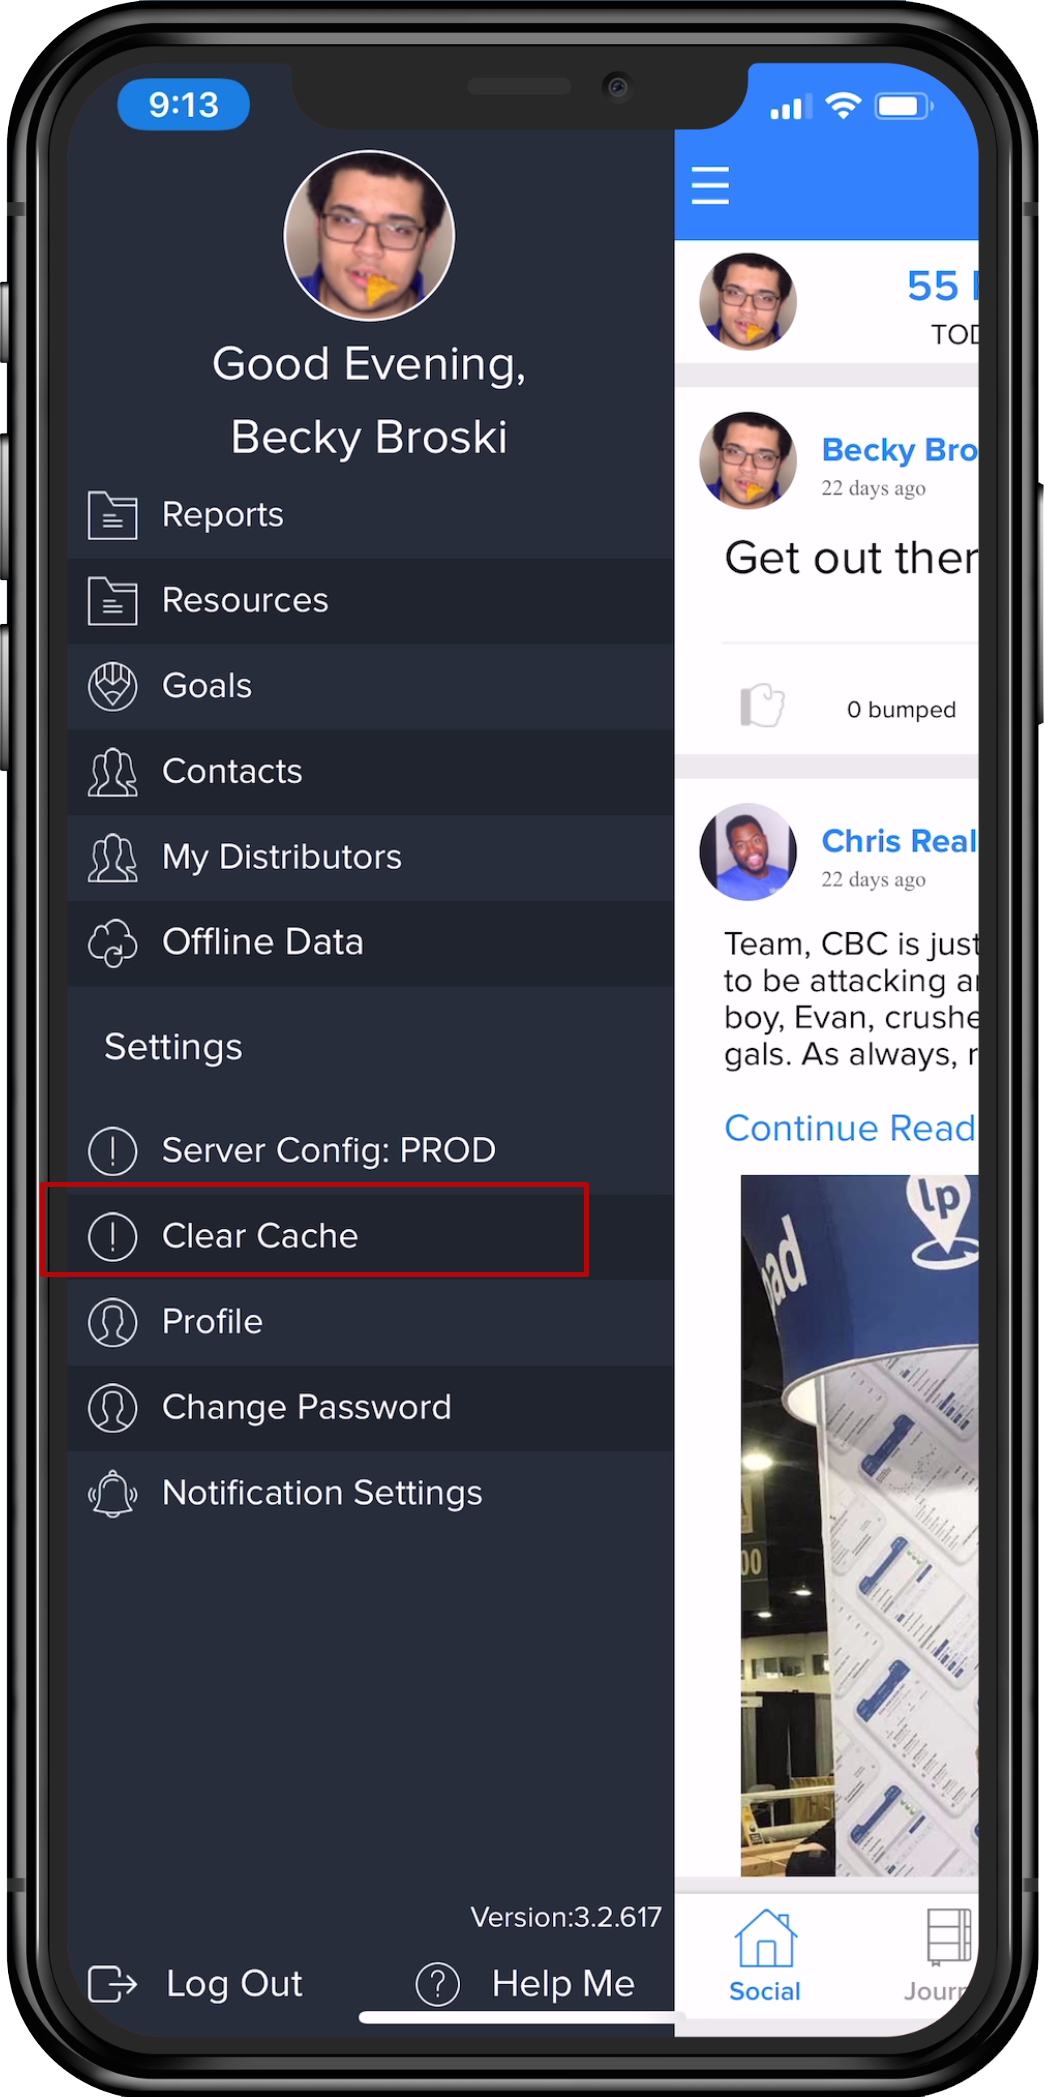
Every now and then, its a great idea to clear cache from your device. This is a small amount of maintenance to maintain overall good health in the app. Look for the Clear Cache tab in the sidebar menu (seen outlined in red above) and click it!
Profile
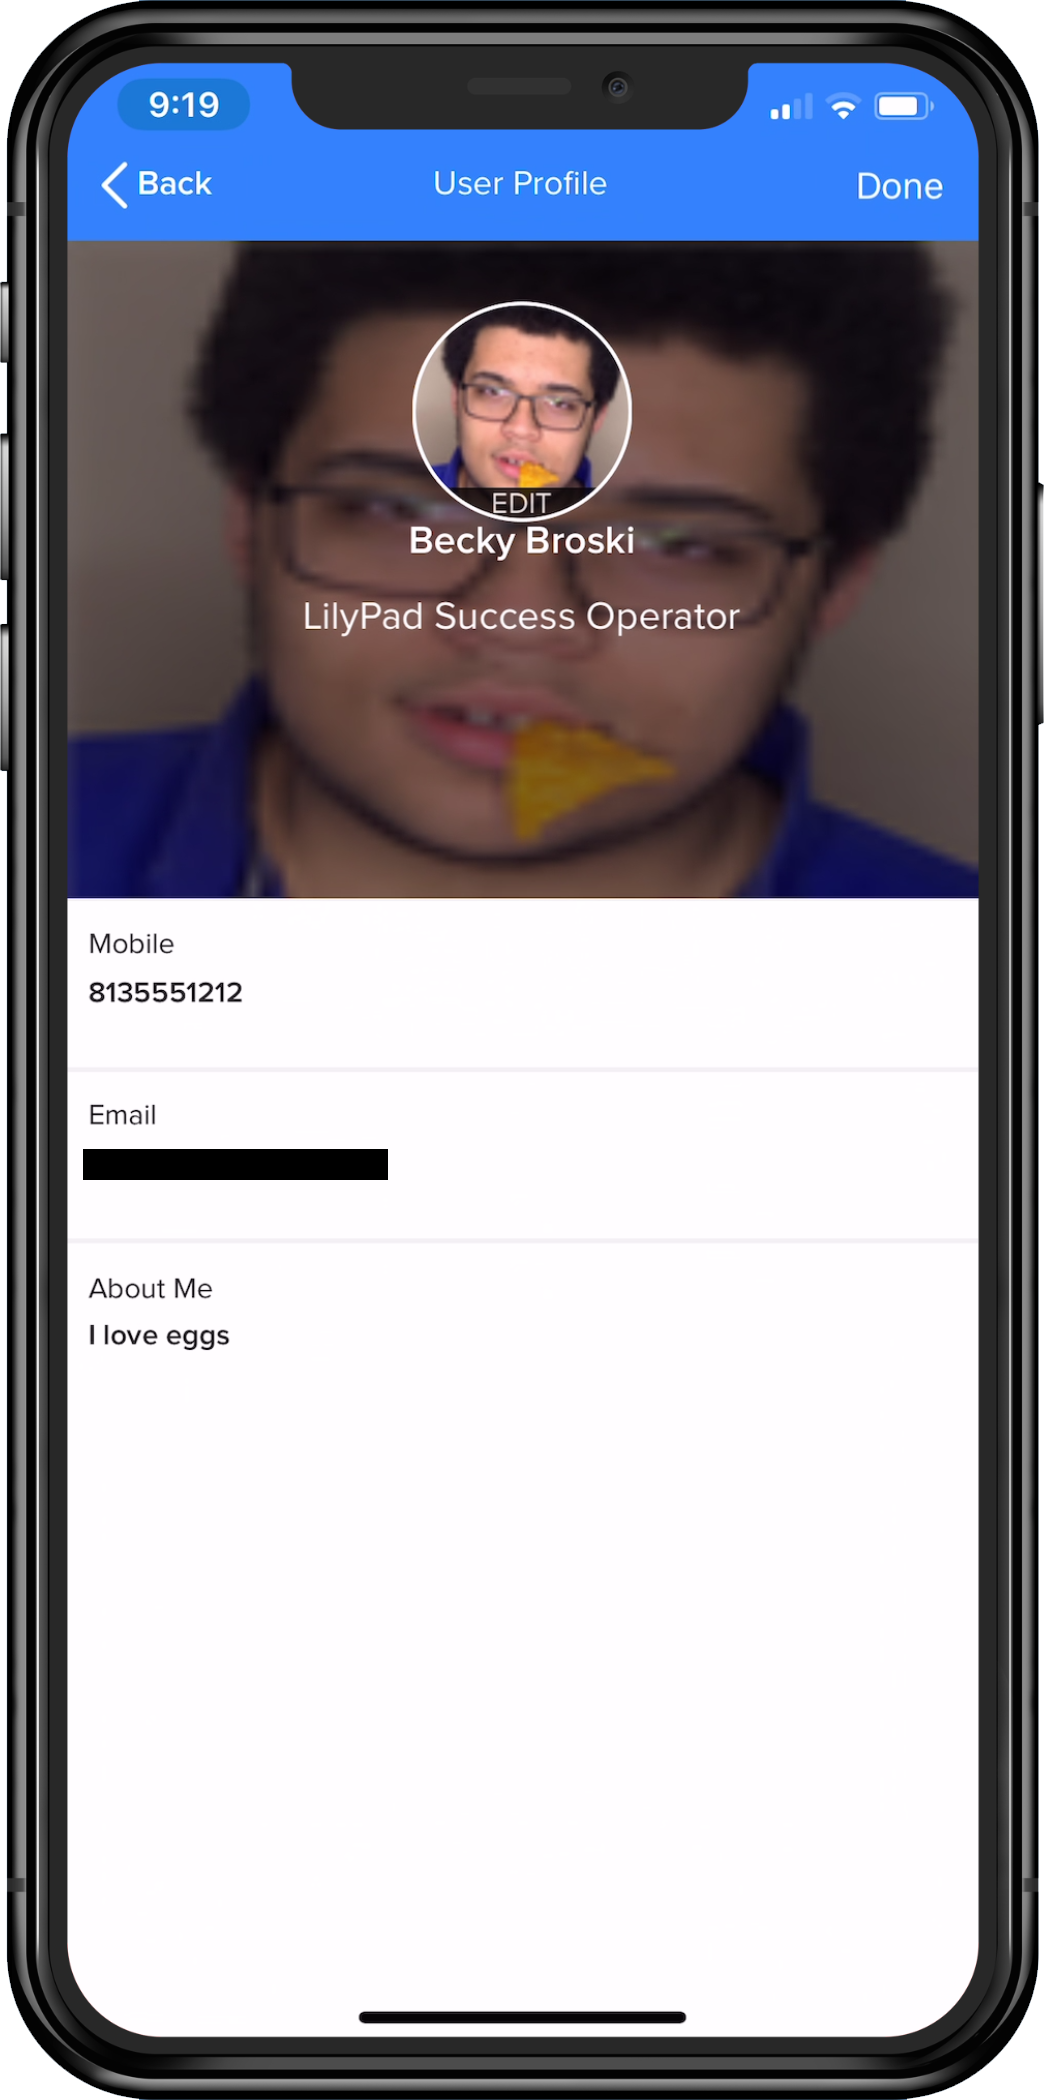
In the Profile tab, the user's Phone Number and About Me information can be edited/updated.
Change Password
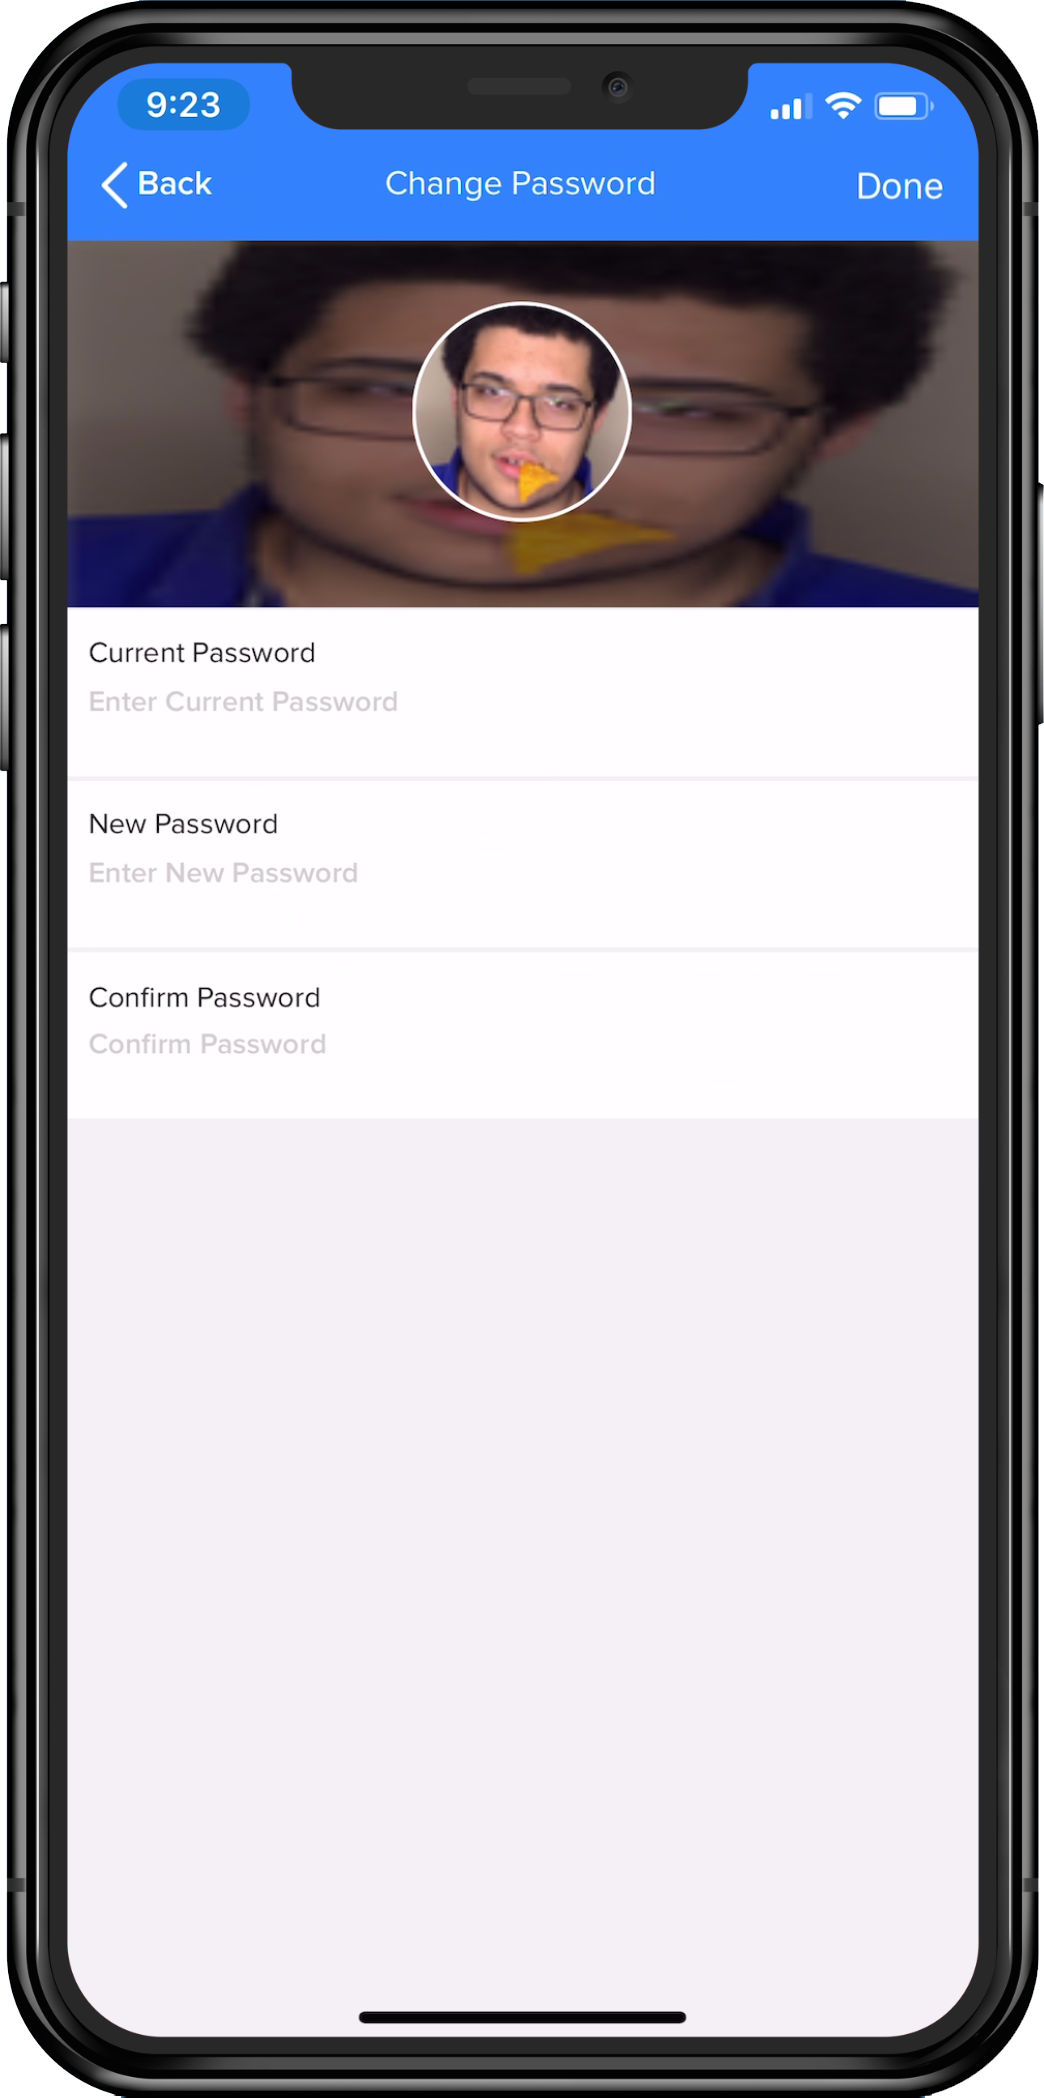
The user's password can be changed by clicking on the Change Password tab. Follow the prompts and then click Done in the upper right hand corner of the screen.
Notification Settings
This menu item allows the user to turn on or off, push notifications for:
-
Goals
- When toggled on, notifications are sent regarding goal completions.
-
Feeds
- When toggled on, notifications are sent regarding Social Wall new posts, comments and bumps that have been made by team members.
-
E-mails (Daily Recaps)
- When toggled on, e-mails are sent every day outlining the user's stats. Included are, a points recap, planner items for that day, and goals information. Managers and Admin will receive reports for all teams they are assigned to.
Help Me - Sidebar
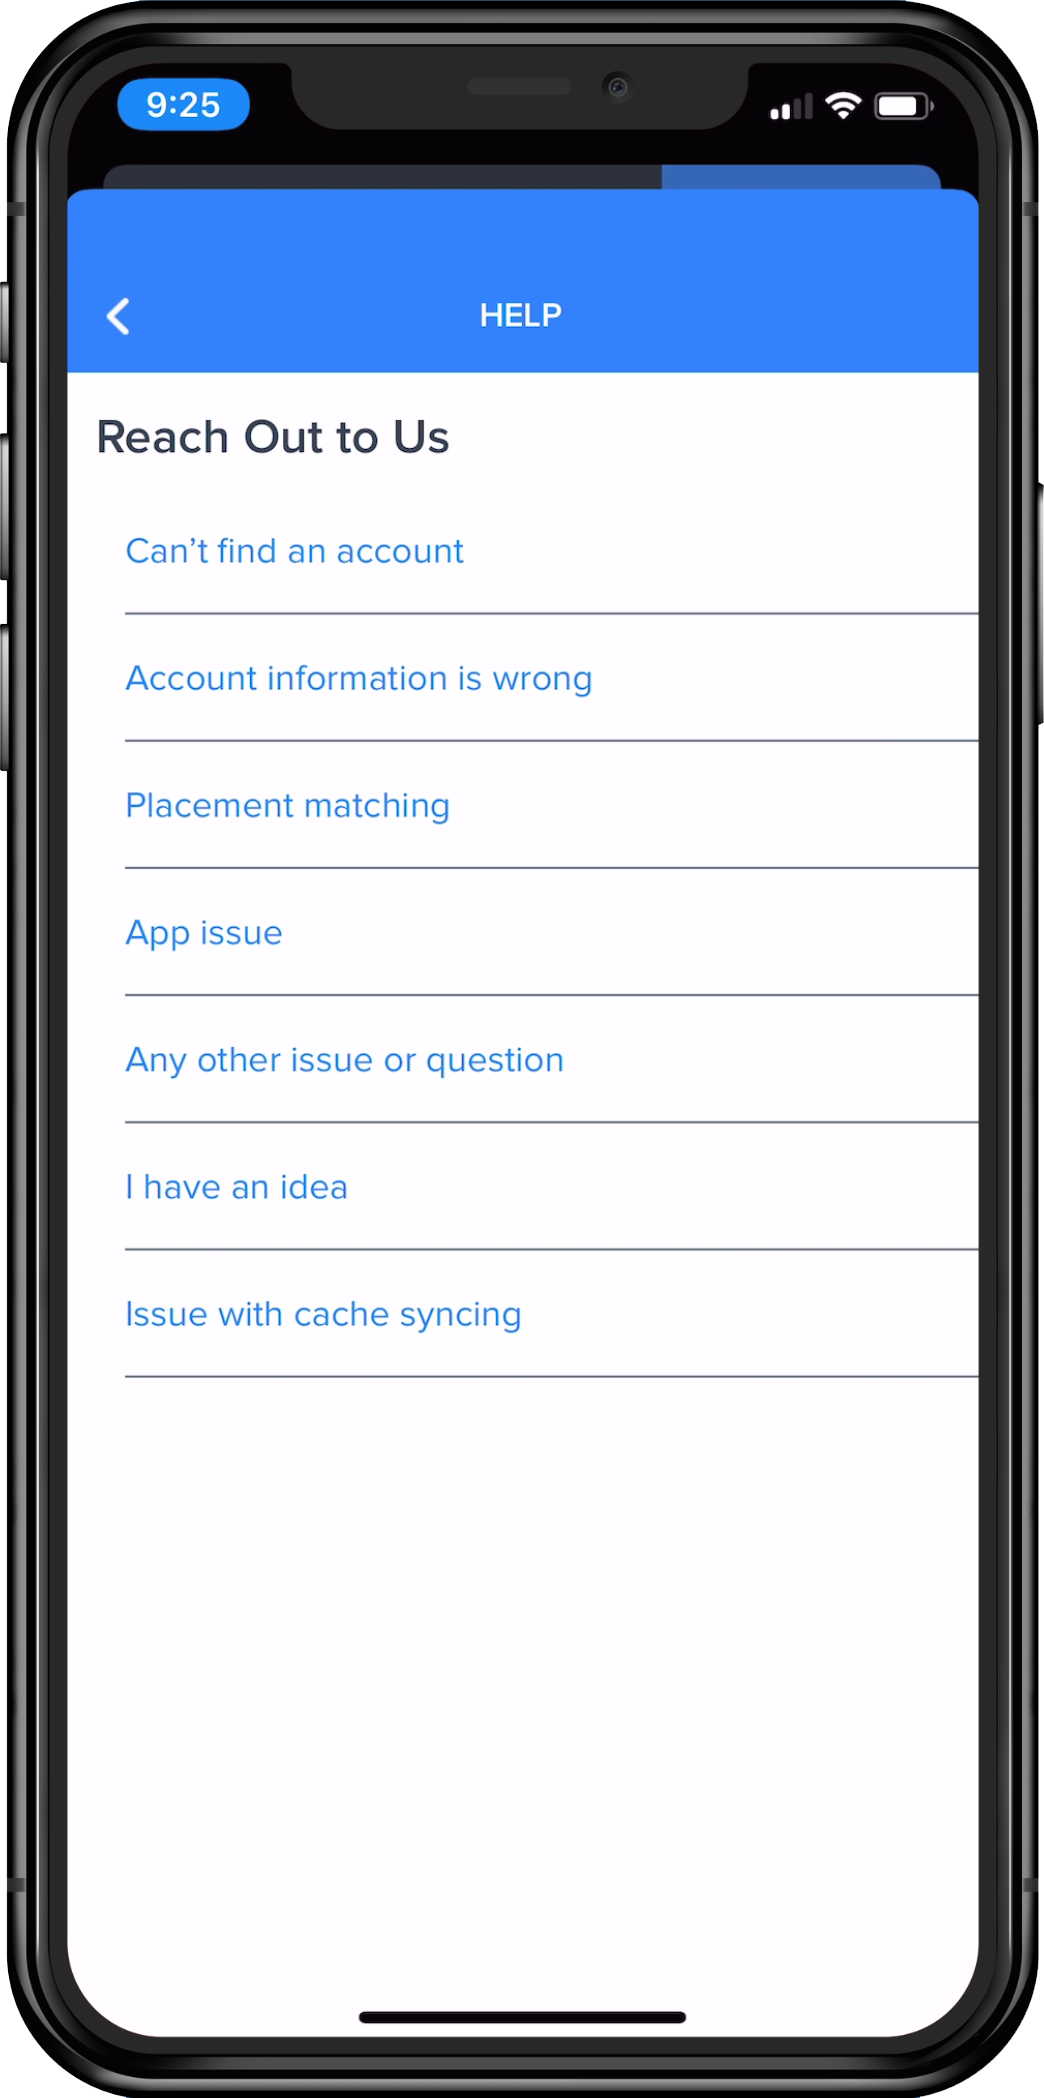
If for any reason, a mobile user requires assistance, our team at Lilypad is a few taps away! Click on the Help Me text at the bottom of this menu for the popup above. Any one of the text fields can be clicked on depending on the need and an e-mail with your details will be sent directly to our support team. Please make sure to supply as much information as possible - including screenshots, video and details within the app of what was trying to be performed. Our team of knowledgeable Lilypad helpers will be sure to respond back as quickly as possible!