Getting to Target List Setup Page
1 Log into the Lilypad Web App ( https://lilypad.app.fintech.com/ ).
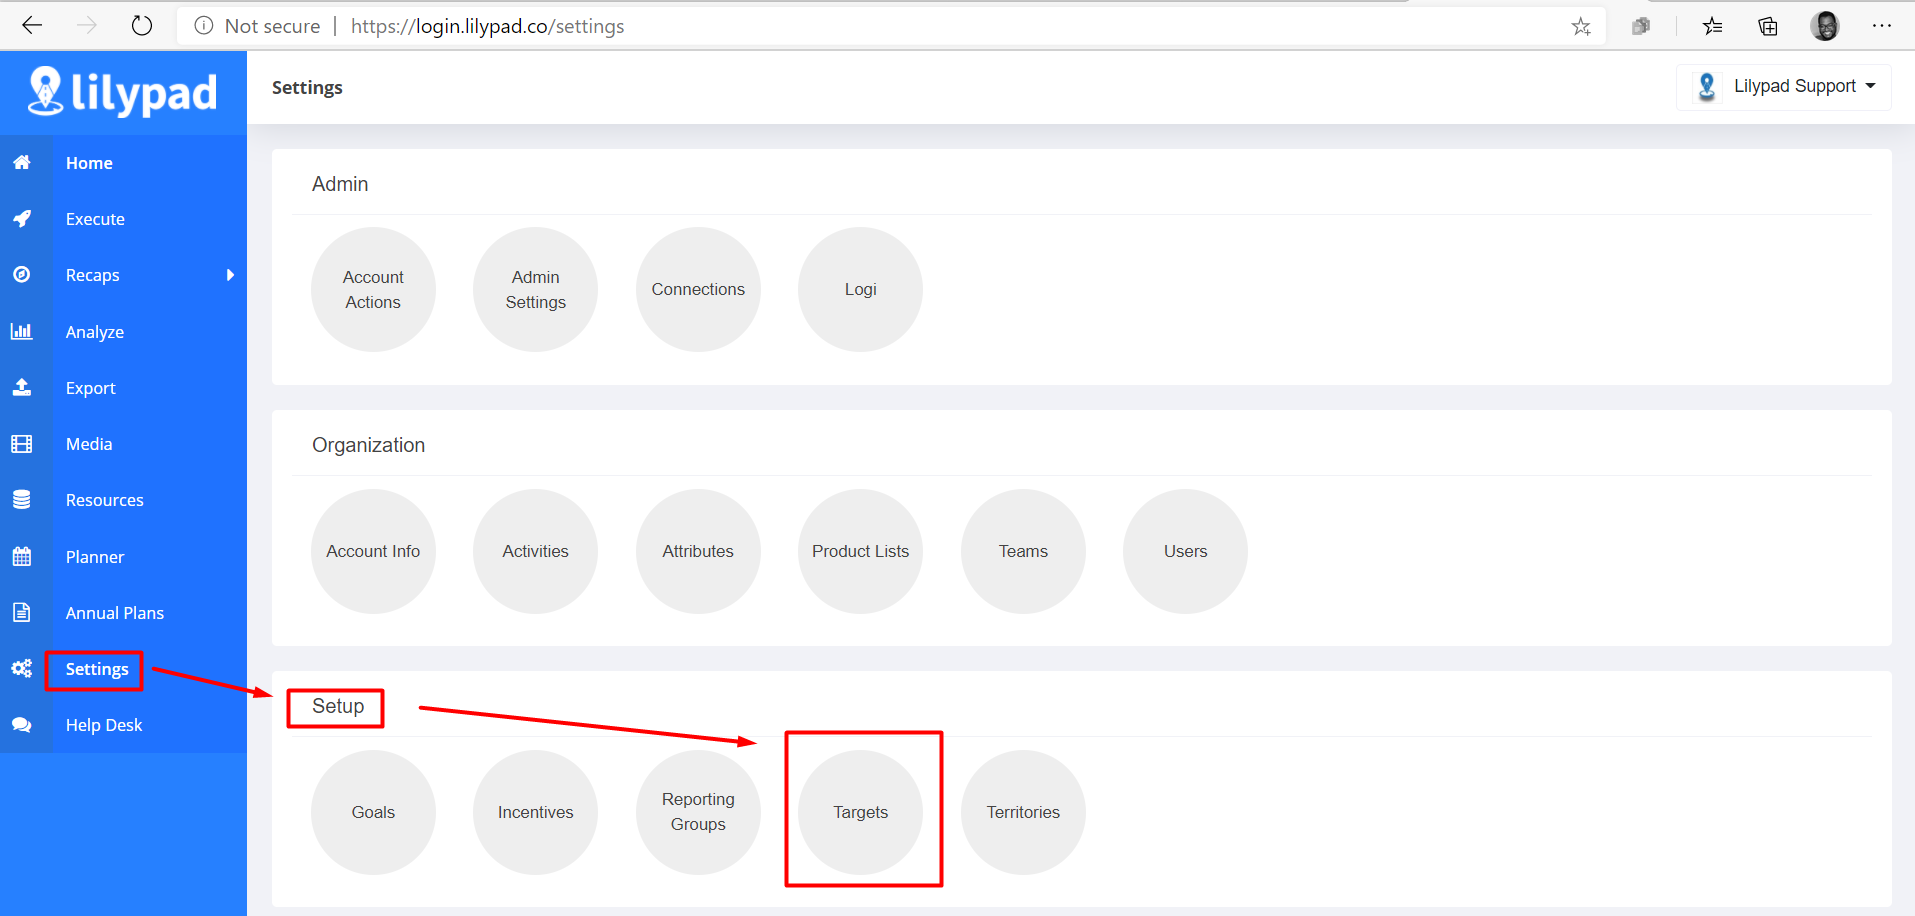
2 From the side bar on the left, click on Setting.
3 Under the Setup section, click on the Targets bubble.
Creating New Target List
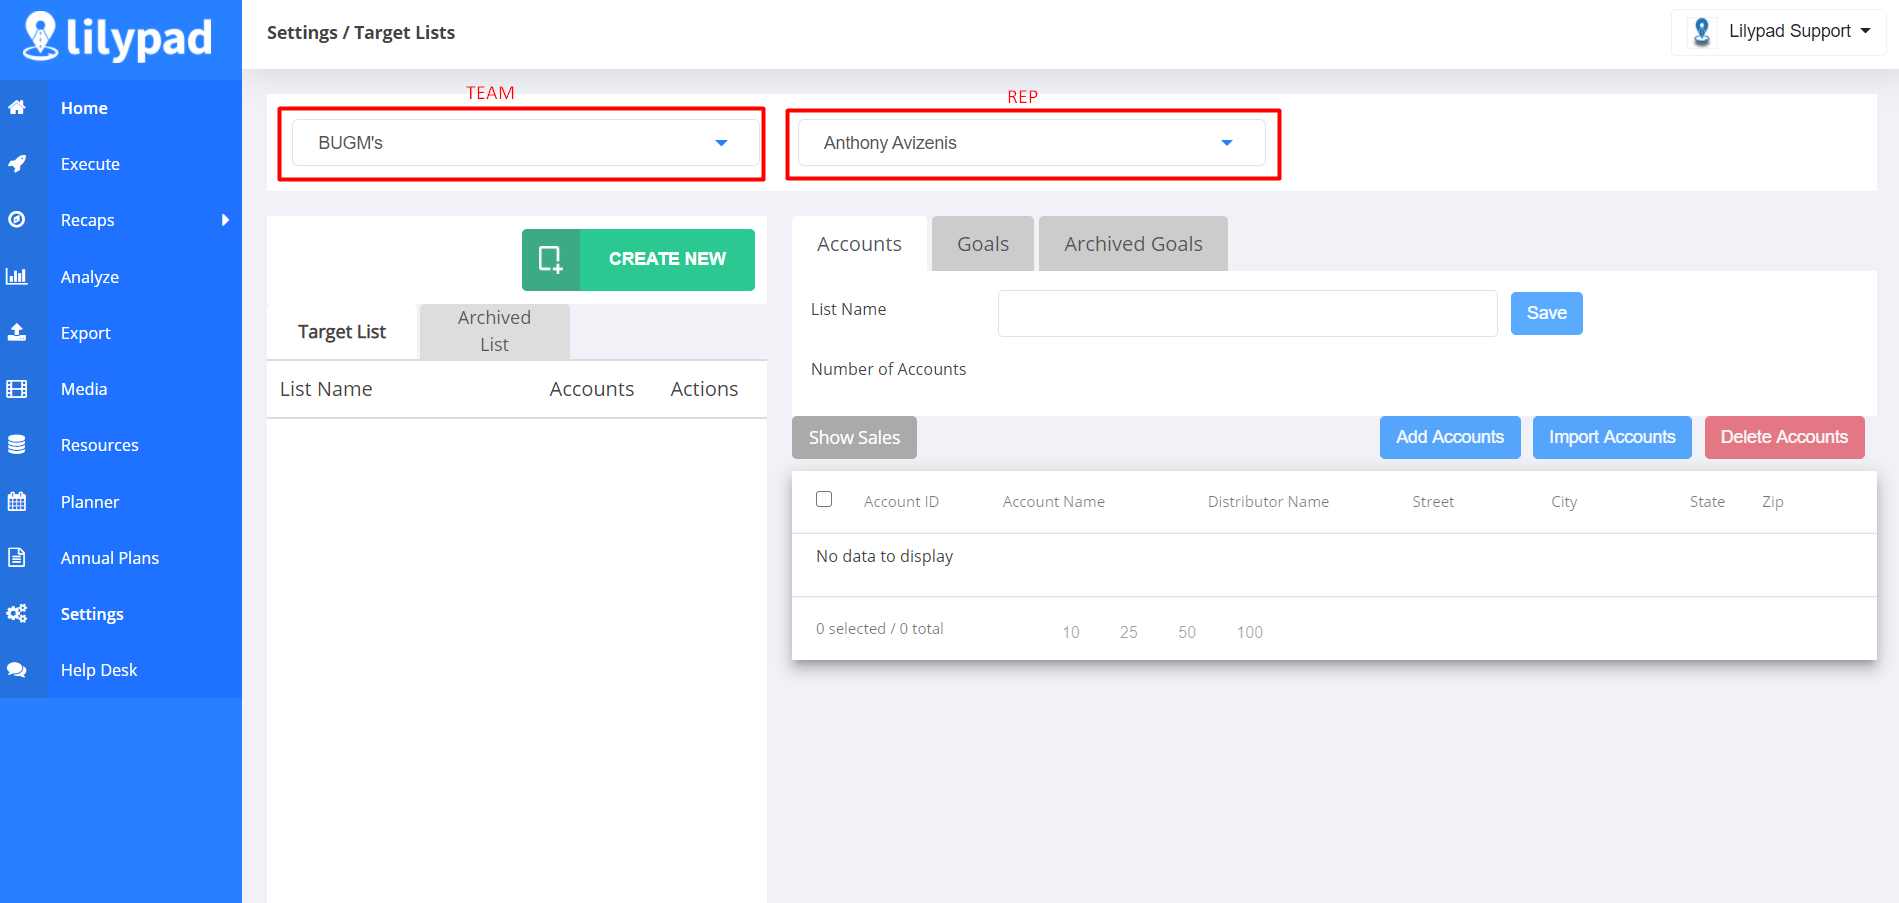
1 In the white box at the top of the screen, select the Team from the drop down. To the right of that, select the Rep from the drop down.
2 Click the green Create New button.
3 In the window that pops up, name the target list and then click the green Create button.
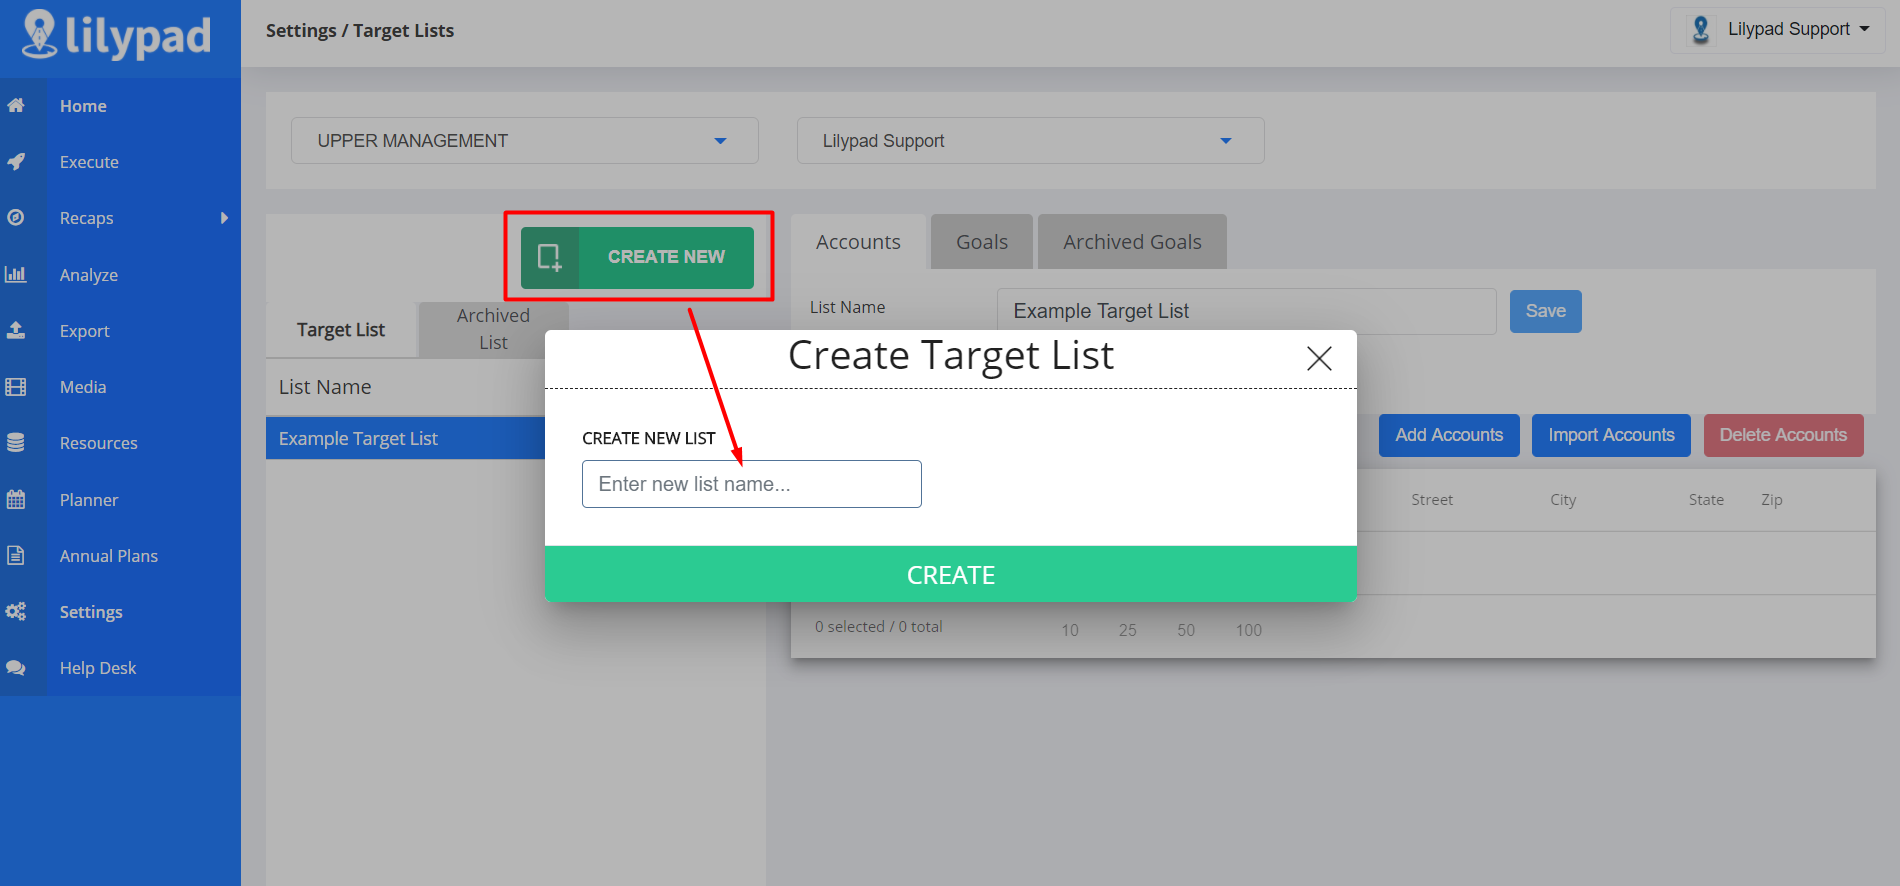
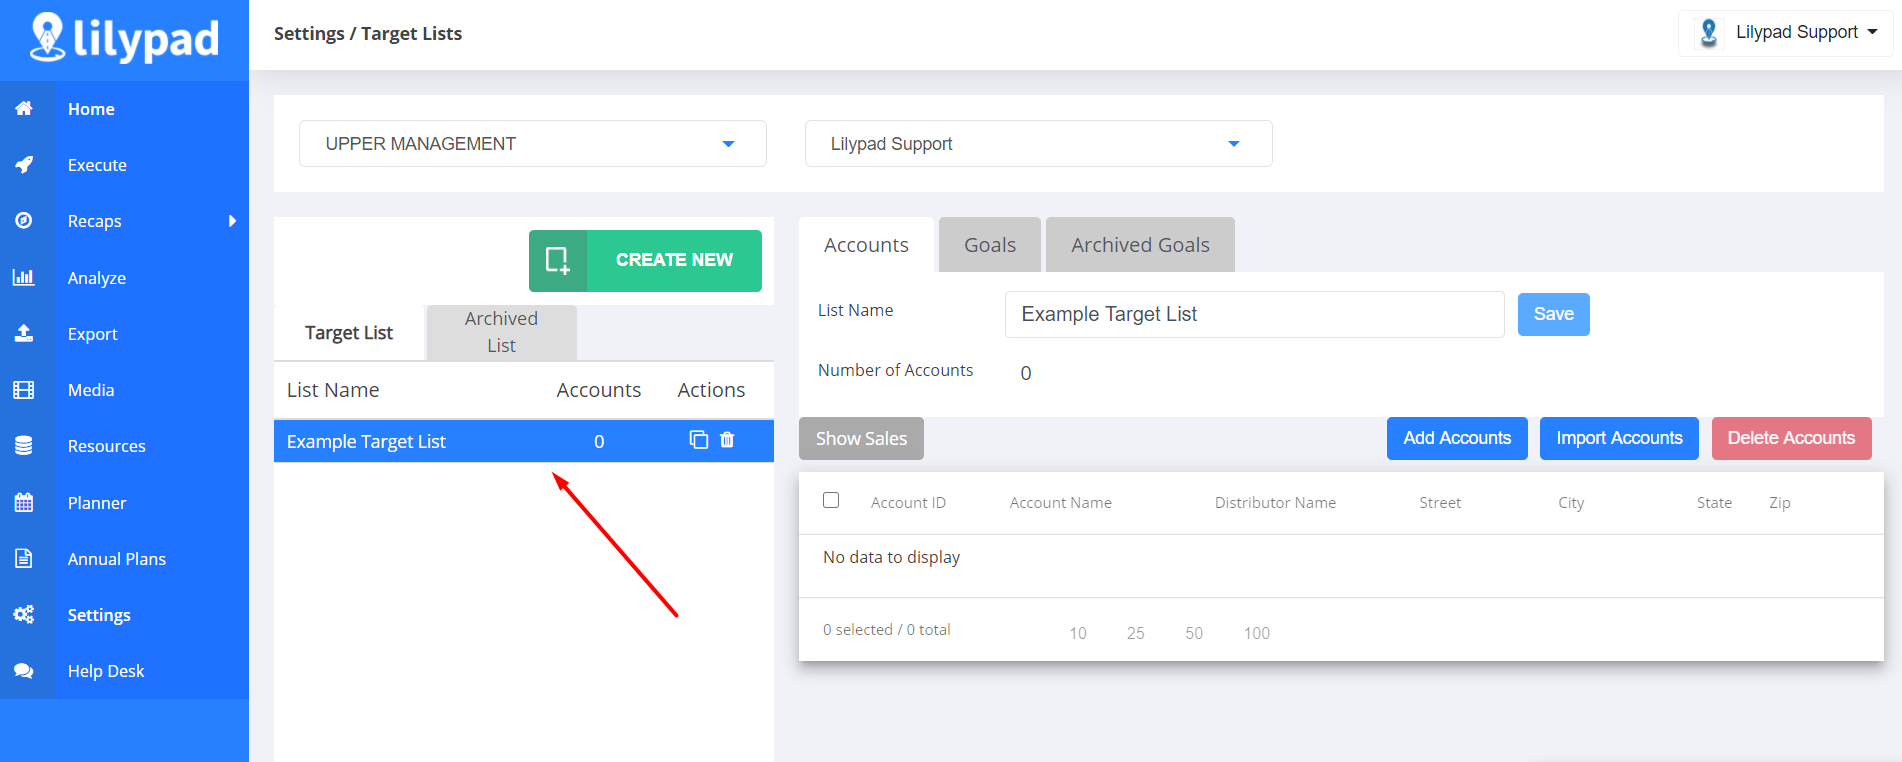
This will save a blank Target List on the left side of the screen under Target List. If multiple lists exist, be sure to click on the new one that is being created. **NOTE: The list you're actively working on will always be highlighted in blue.
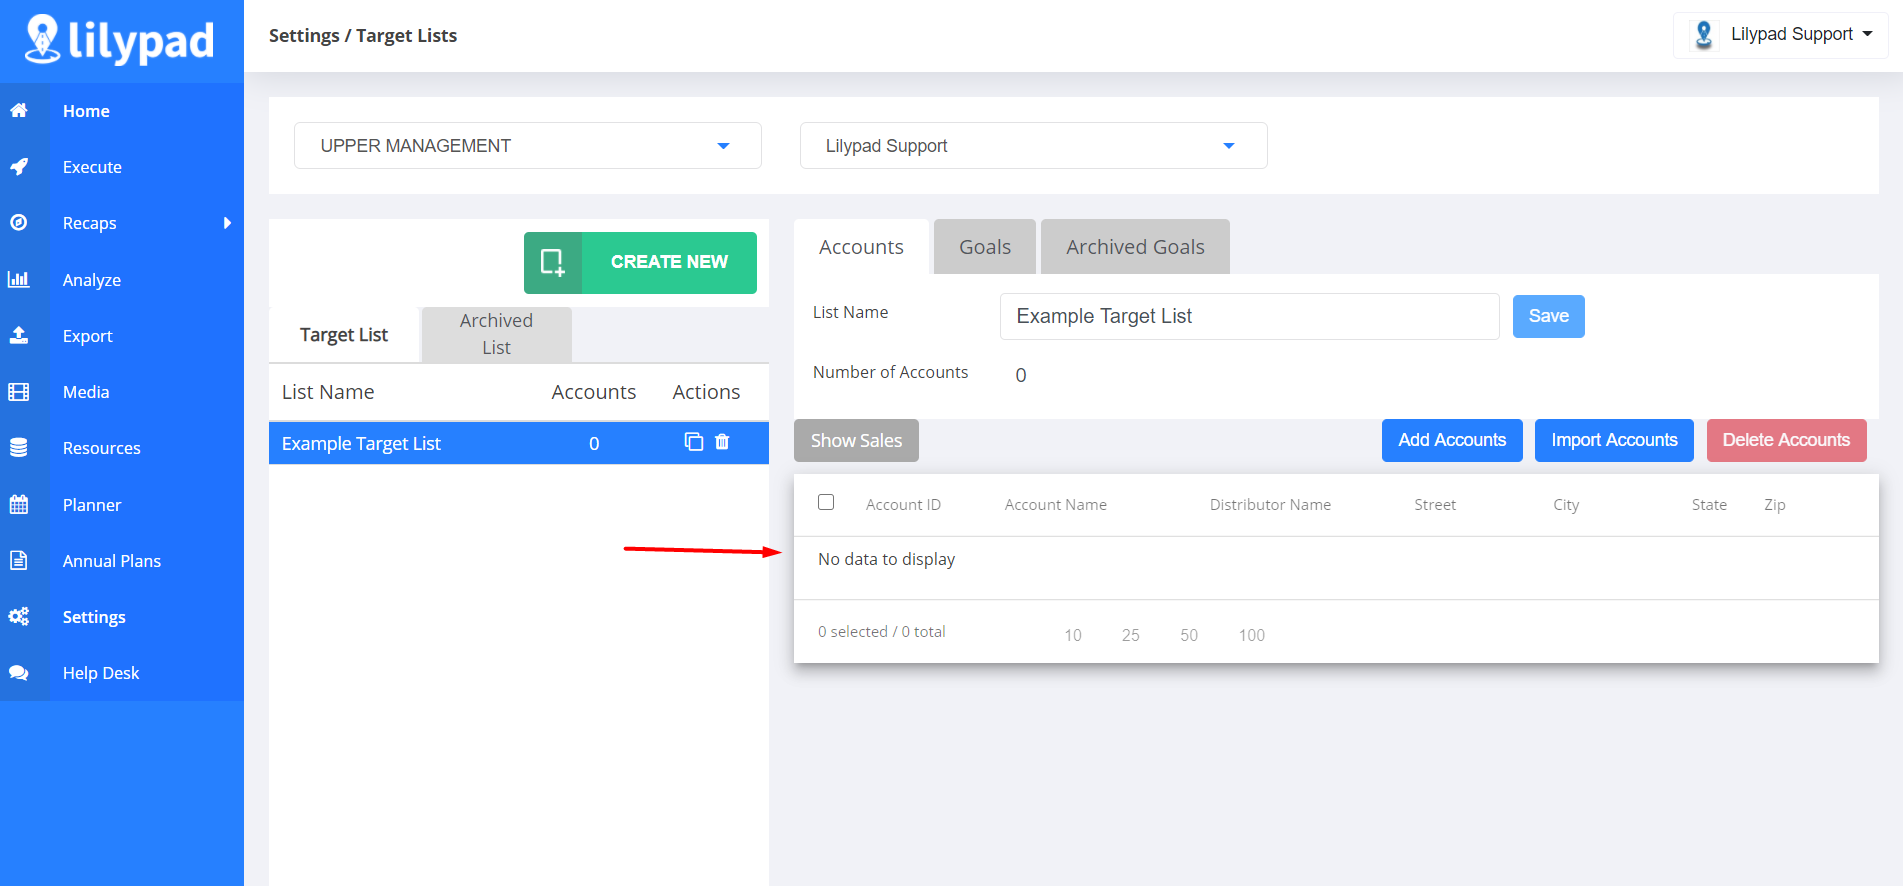
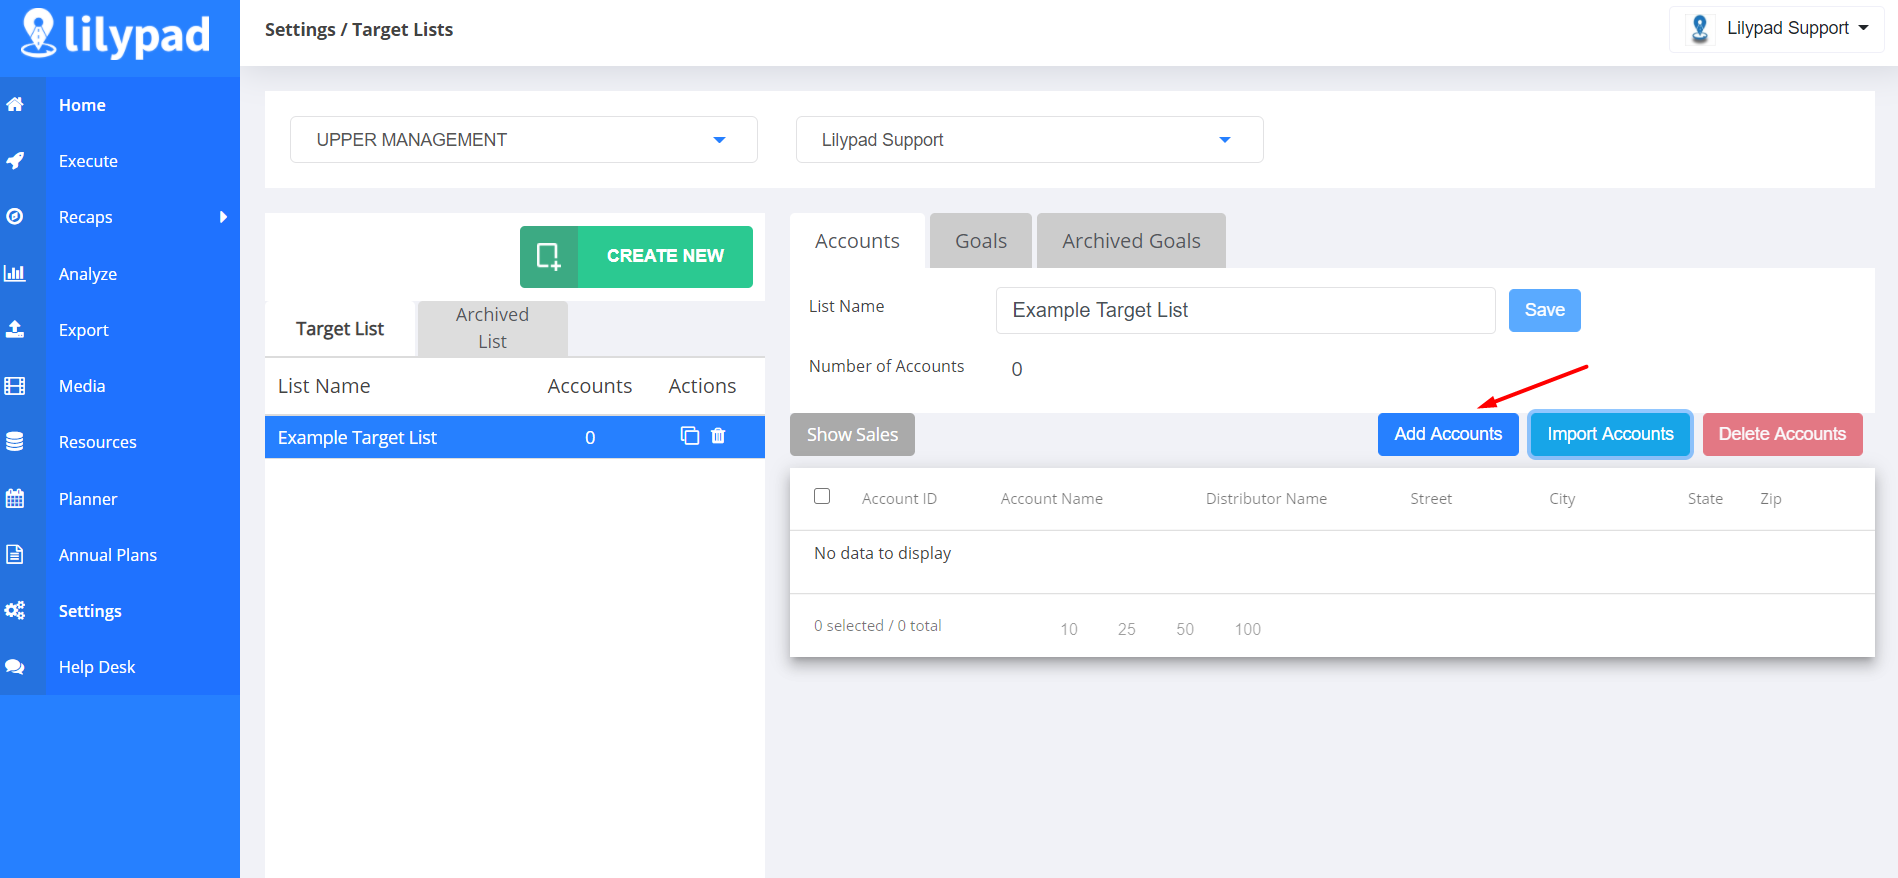
4 On the right side of the screen, the Target List builder should already be visible. This is where all the Accounts will be added to the selected list.
Import/Upload Accounts
You can use this feature if a list of accounts to be imported already exists.
1 Click the blue Import Accounts button
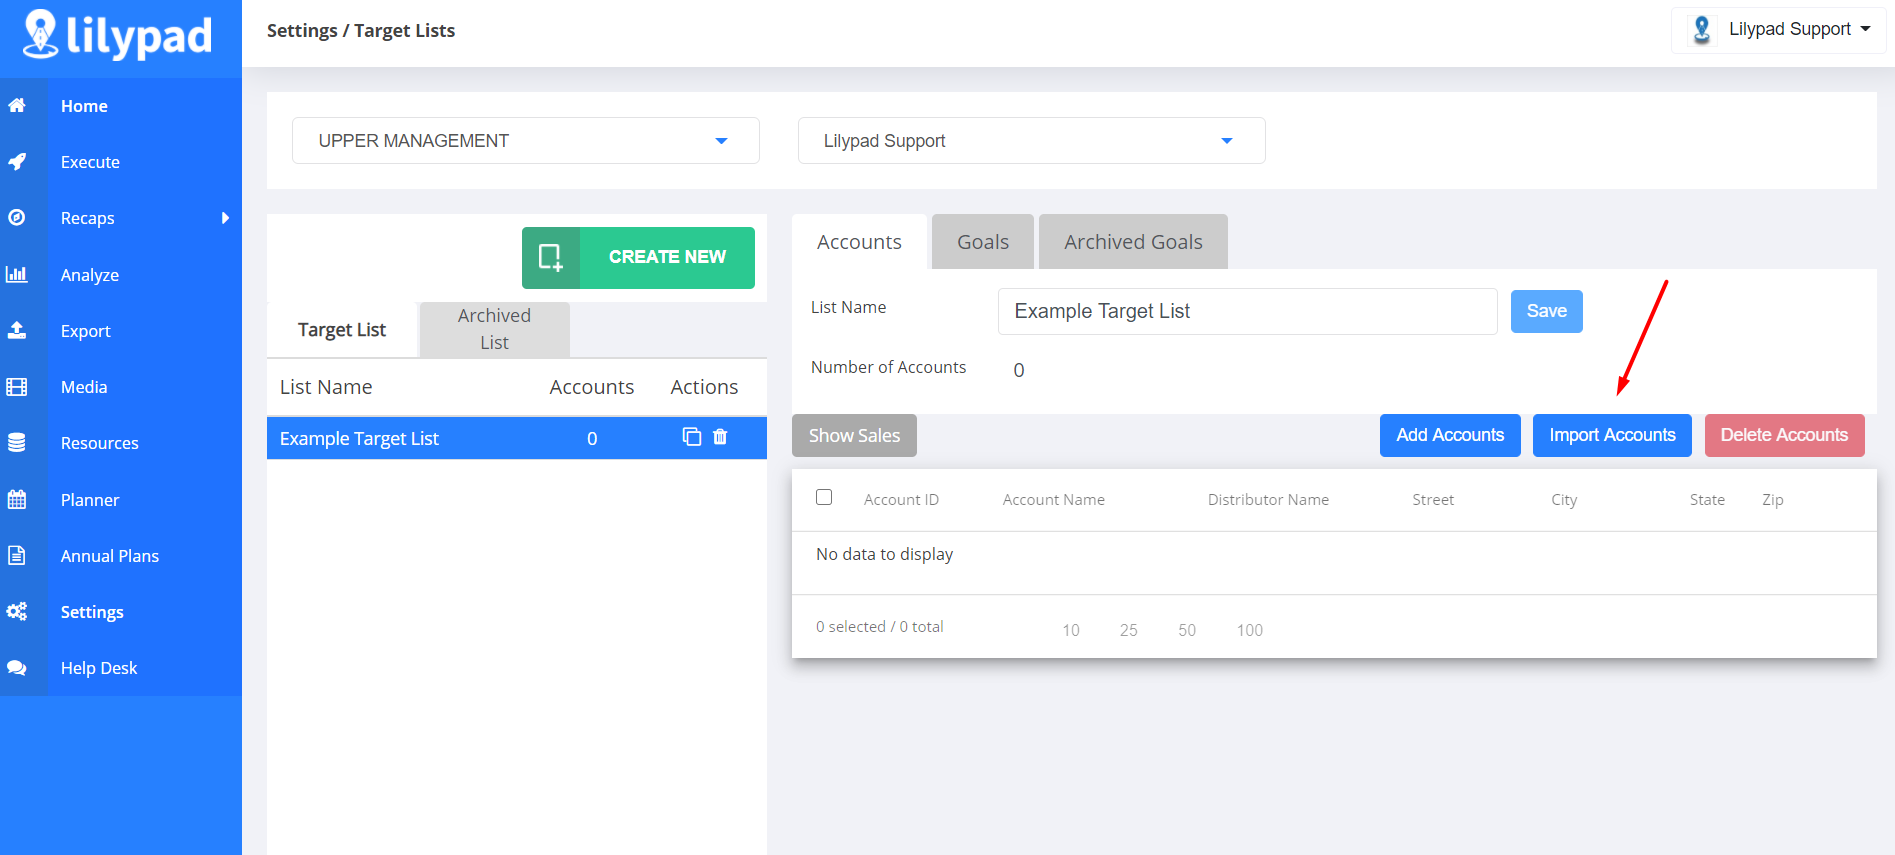
2 The Import Accounts window will pop open to enter account data for matching. The are 2 main ways to import accounts onto a Target List, by Account ID's or by Account Name
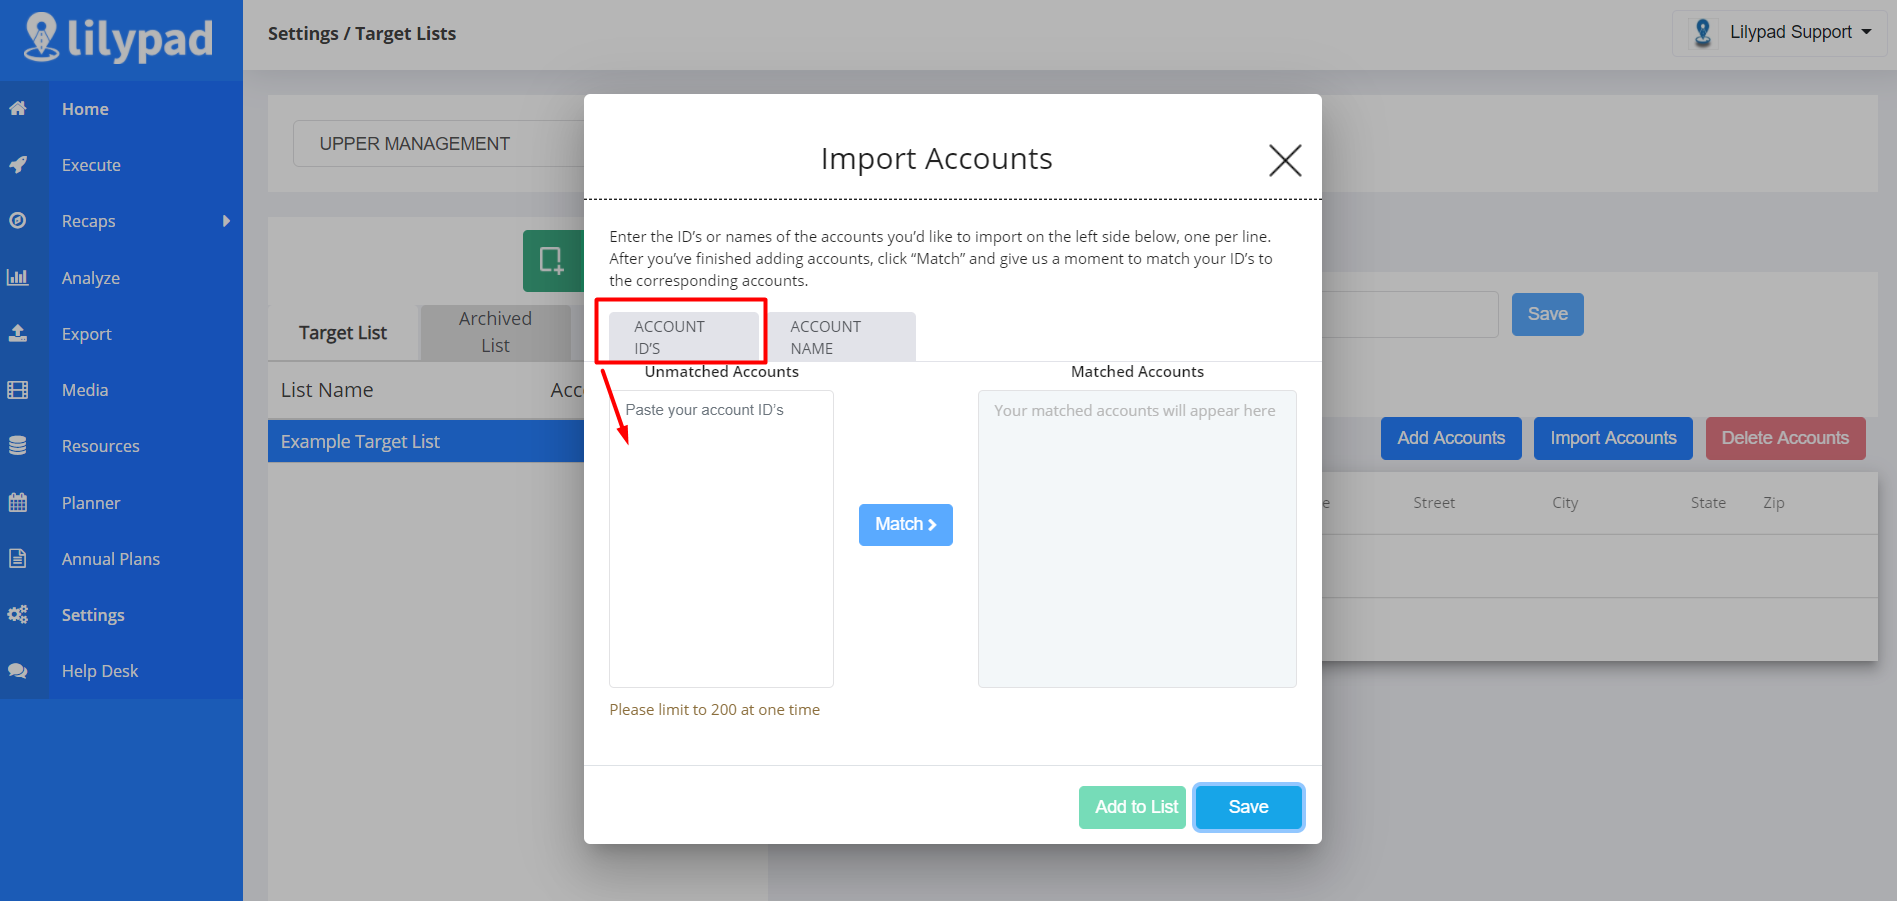
Account ID Import
If you have a VIP DATA connection with Lilypad, click on the Account ID's tab to enter a list of VIP IDs in the Unmatched Accounts text box. Make sure each VIP ID is on a separate line to avoid importing issues.
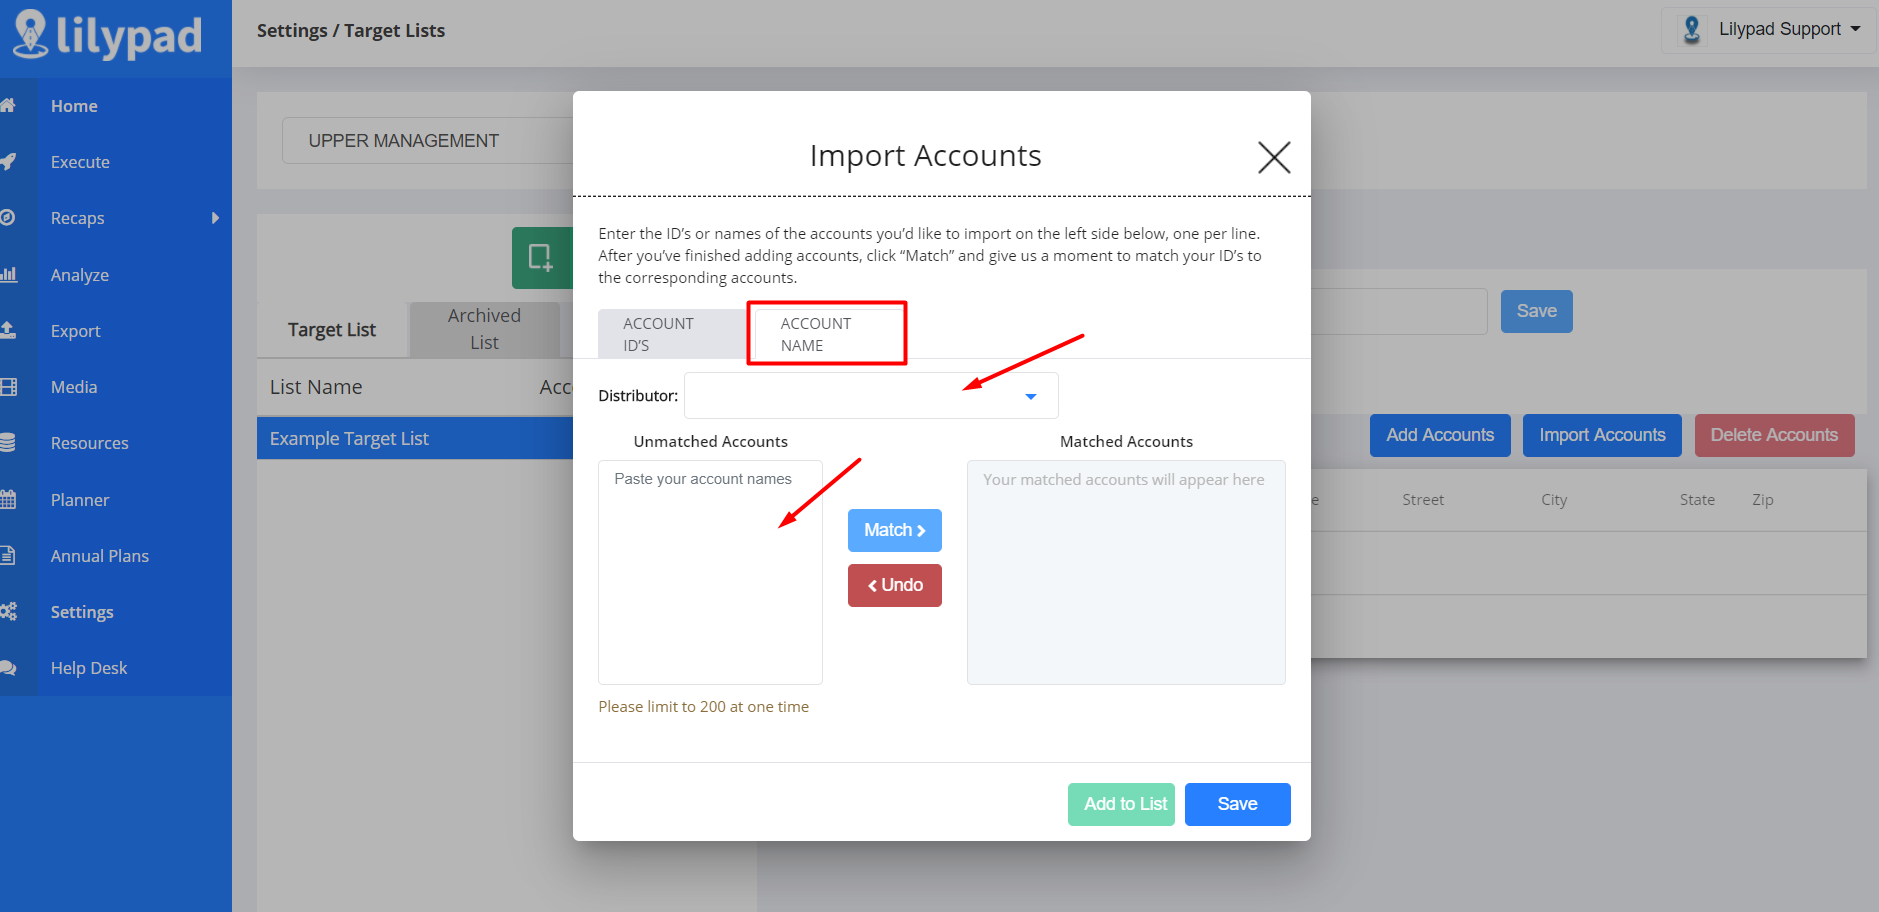
Account Name Import
If you have no data connection, have an LP Data connection, or don't have access to VIP account ID's, this is the best import option for you to use.
Click on the Account Name tab
Select the Distributor the accounts will populate under
Enter a list of account names (as they are being reported in Lilypad) to the Unmatched Accounts text box. Make sure each account name is on a separate line to avoid importing issues.
**NOTE: It is very important to ensure that each account name is entered exactly as it appears in Lilypad, otherwise the matching process will not work. For example, there's a difference between Joe's Bar (with an apostrophe) and Joes Bar (without an apostrophe).
3 Once you have all the accounts entered either from utilizing the Account ID's option or Account Name option tabs, Click the blue Match button. The listed accounts should now be populating in the Matched Accounts box.
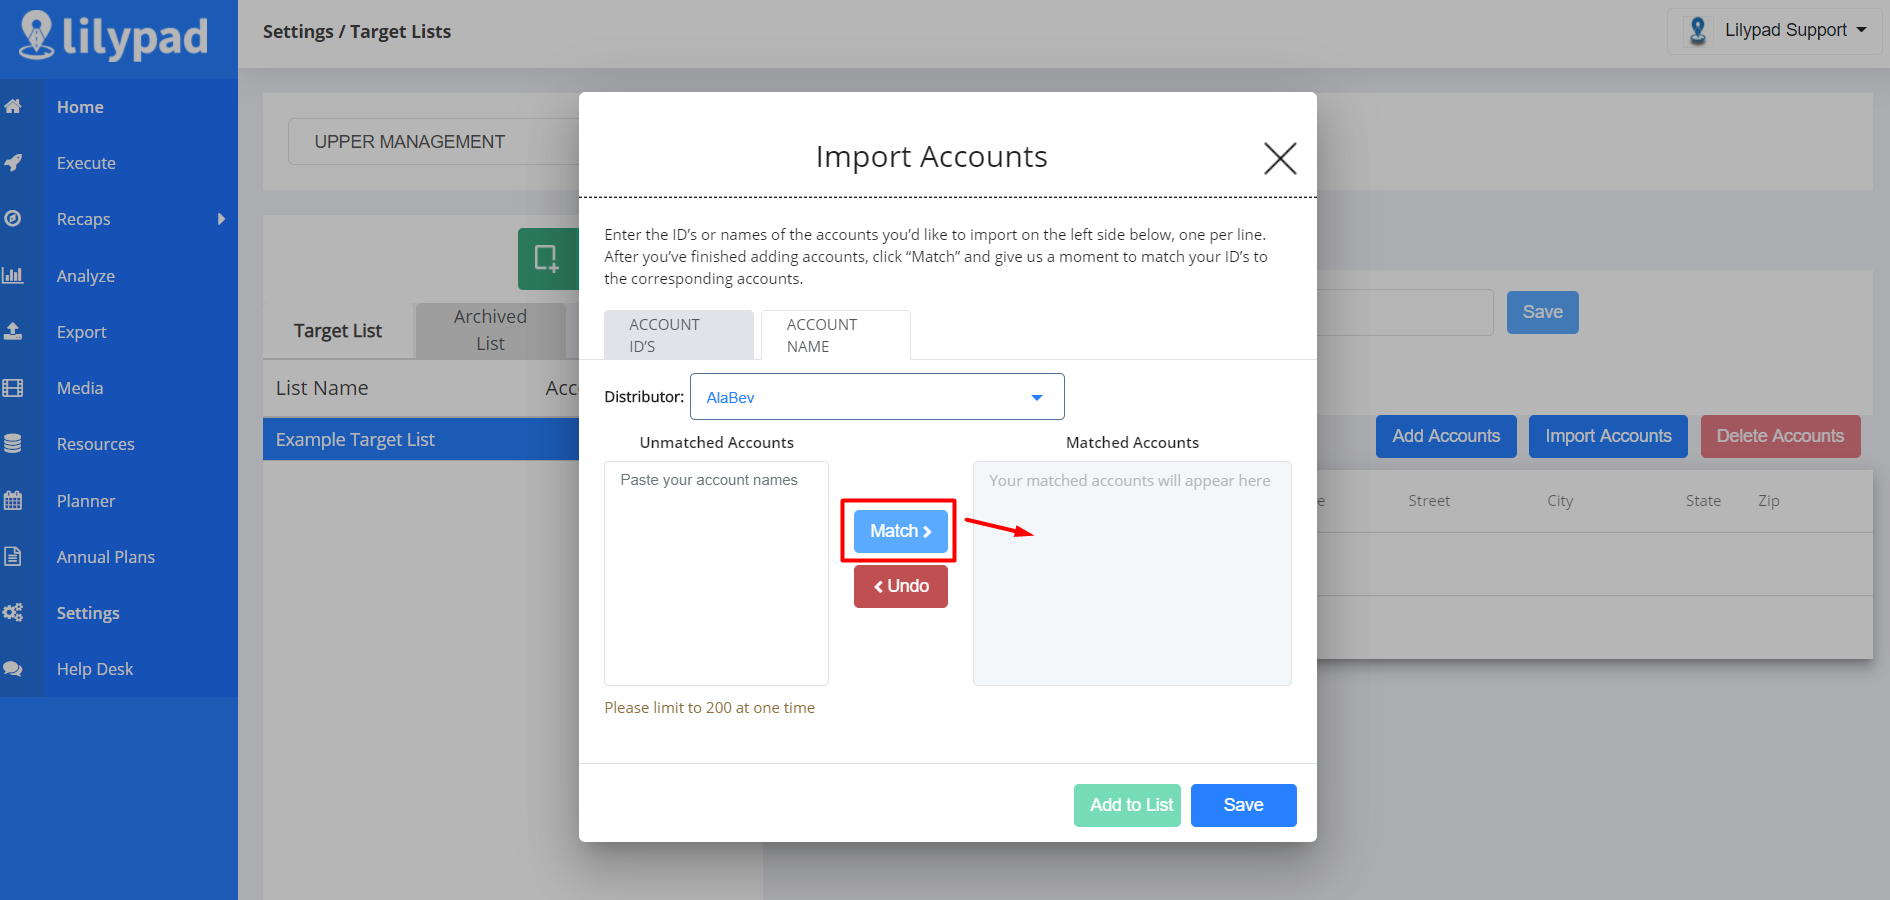
**NOTE: Any Accounts still showing in the Unmatched Accounts box, will need to be searched for and entered through the one-by-one process. See below section for that step by step.
4 Click the green Add to List button
5 Click the blue Save button.
Manually Add Accounts
You should use this feature when you don't have a list of Account ID's/Account Names to easily import OR if you had accounts still showing in the Unmatched box after attempting the import/upload process.
Follow the steps outlined below:
1 Click the blue Add Accounts button (left of the Import Accounts button). This will open the Add Accounts to list window.
2 Using the Begin Search drop down located towards the top of the window - check mark the Distributor(s) whose account universe the accounts you're searching for will populate under. **NOTE: If the drop down list is too long, you can type the Distributor's name in the search bar to help narrow down the list.

3 Once your Distributor(s) are selected, you can apply filters to help narrow down the searches results of Accounts. You'll have to 2 main filter options to choose from: General Filters & Sales Filters
General Filters
Under this filter option you'll see 3 tabs white tabs: Account Type, Location, and Attributes.
Account Type - allows you filter you search results by On Premise, Off Premise, Independent, and Chain accounts
Location - allows you to filter your search results by Cities and Zip Codes by using the drop downs.
Attributes - allows you to filter your search results by specific account traits such as Best Day to Visit, Best Time to Visit, and Distributor Order Day. **NOTE: Account attributes are manually entered/set for each individual account by you or another Lilypad user in your organization. This filter will only work for the accounts attributes were entered at.

Sales Filters
Under this filter option you can narrow down accounts based on sales history.
You can choose between Did buy (all buying accounts), Did not buy (all non-buying accounts), or your top 10, 25, 50, or 100 buying accounts.
You can also choose a specific date range (30-180 days, YTD, or custom range), and even filter down to accounts that have or have not purchased specific Brands and SKUs.
**NOTE: The Sales Filters option is only available if your organization's Lilypad account is set up with VIP data or LDS Data.

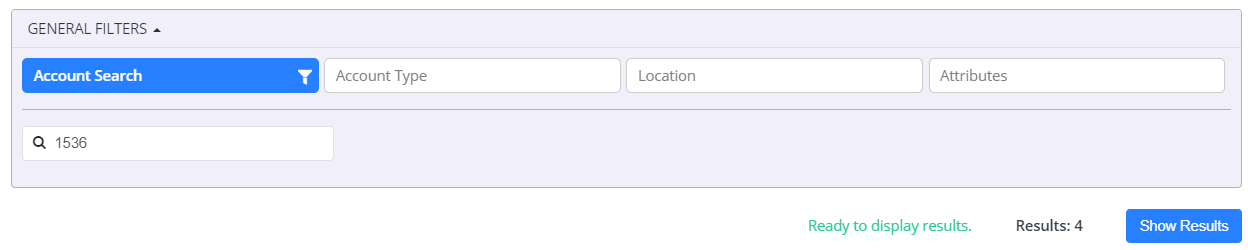
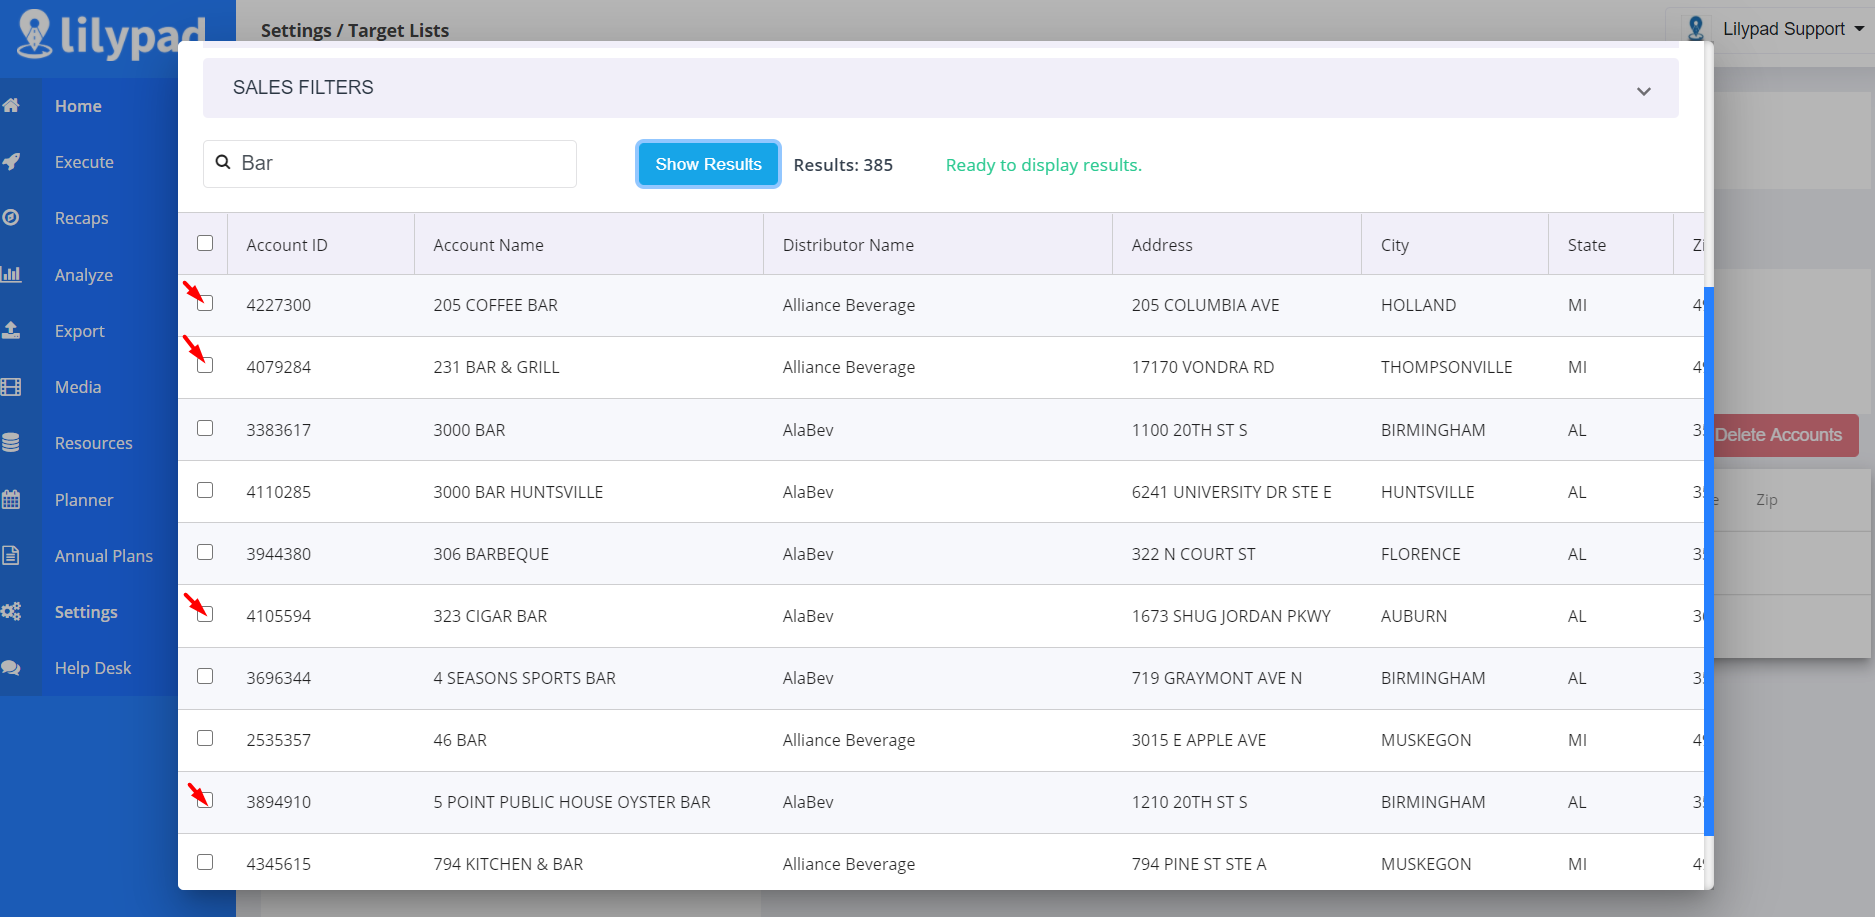
4 Once you have your filters set, type into the Account Name/Account Address text box to begin searching for specific accounts to add to your list. Press Enter button on your keyboard to populate results. Once results have returned, click the blue Show Results button.
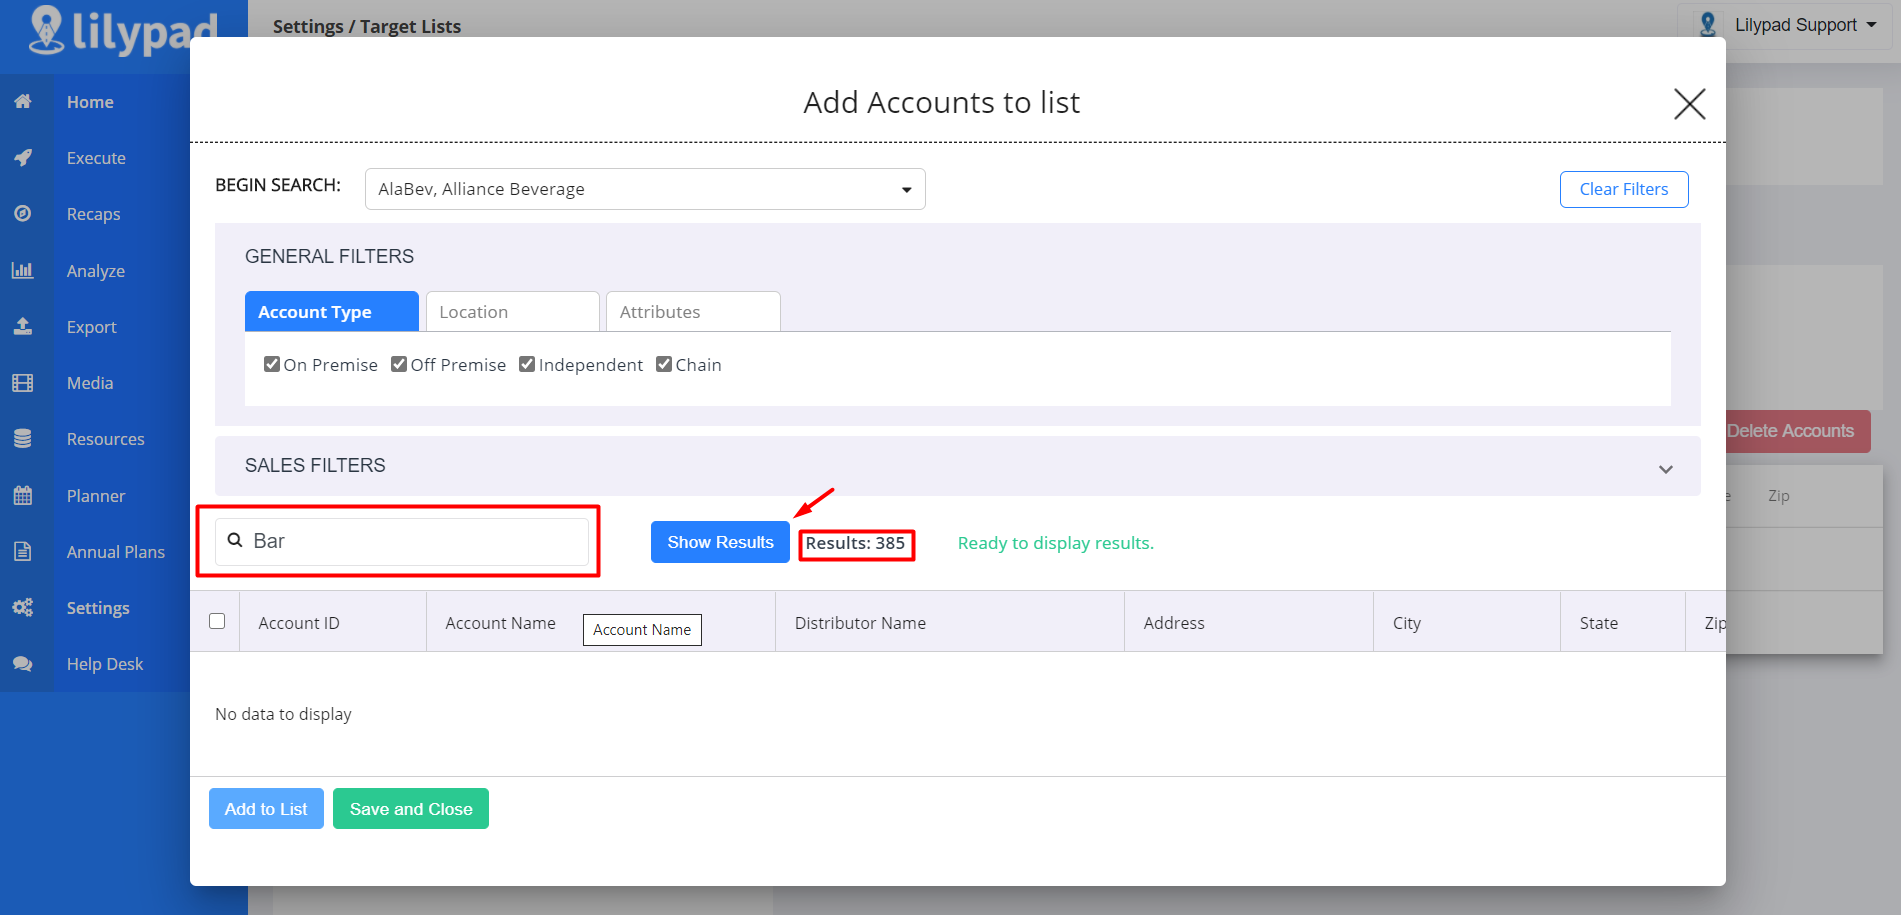
**NOTE: It is necessary to click the Show Results button every time new filters have been applied or you've typed a new account name/address into the text box. The list of Accounts will not automatically populate.
5 When the results are shown, check mark the Account(s) that will be added to the Target List by clicking the boxes on the left side in the list view.
6 Click the blue Add to List button on the bottom right. Then you may continue searching for other accounts to add to your list by repeating steps 4-6.
7 Once you've completed adding all the desired accounts, click the green Save and Close button to save and update.
PRO TIP!
Based on best practices used by our Lilypad veterans: When entering Accounts one-by-one, under 'General Filters > Account Search' first try the address street number as the only Search parameter. This will generally result in a short list of returns and find the Account you are looking for on the first try. If that fails, search for the street name by itself. See example below -