Overview
The Bulk Account Upload feature allows you to upload a fairly large number of accounts from a CSV file if they don't exist in Lilypad for an existing distributor.
Important Notes
- In order to view the Account Actions bubble (which includes the “Bulk Account Upload” feature) in the web settings, you must be setup as a Manager and an Admin on your user profile page in Lilypad. Navigate to Settings > Users > and select a user to make these changes.
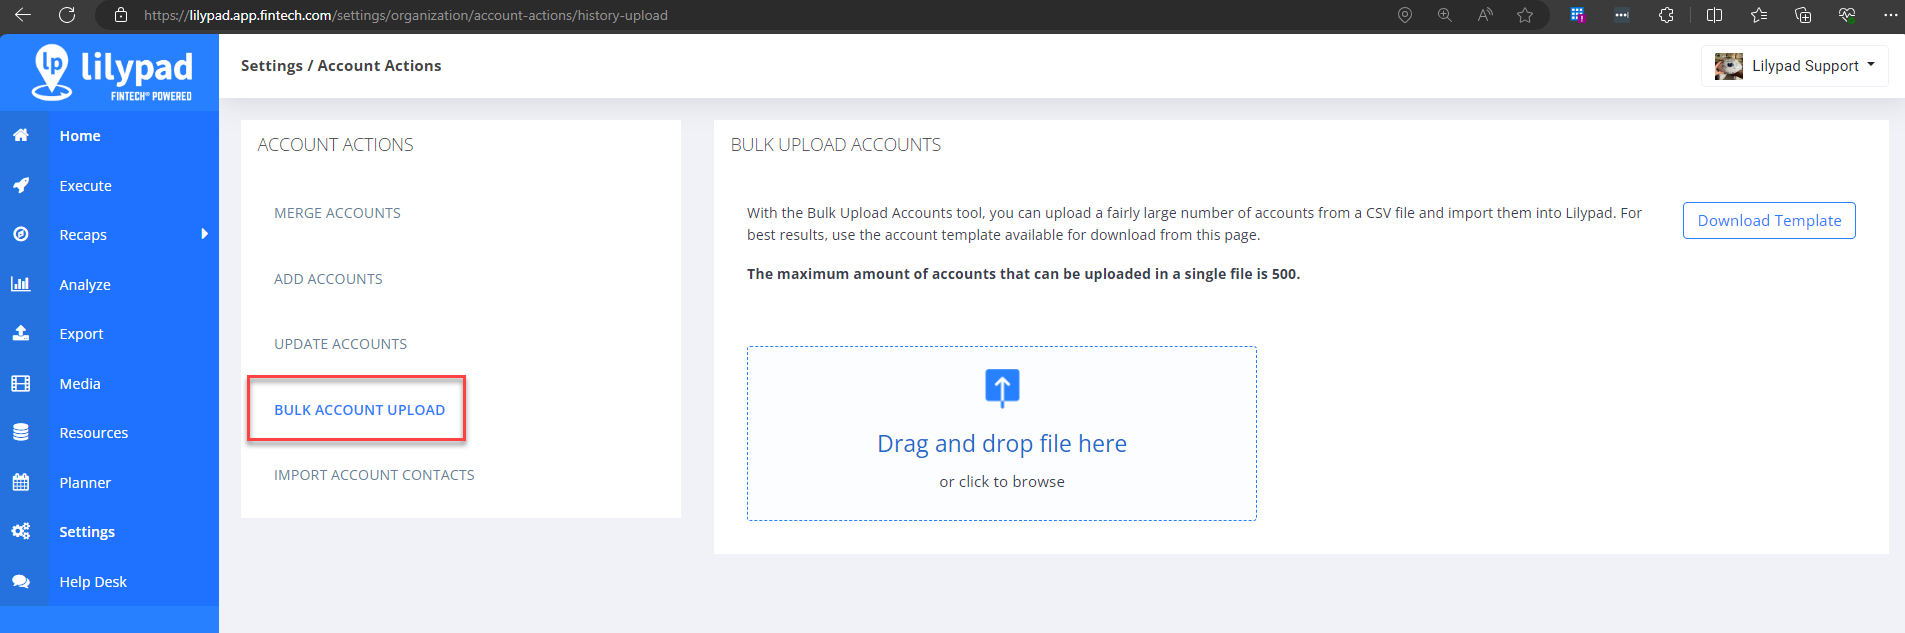
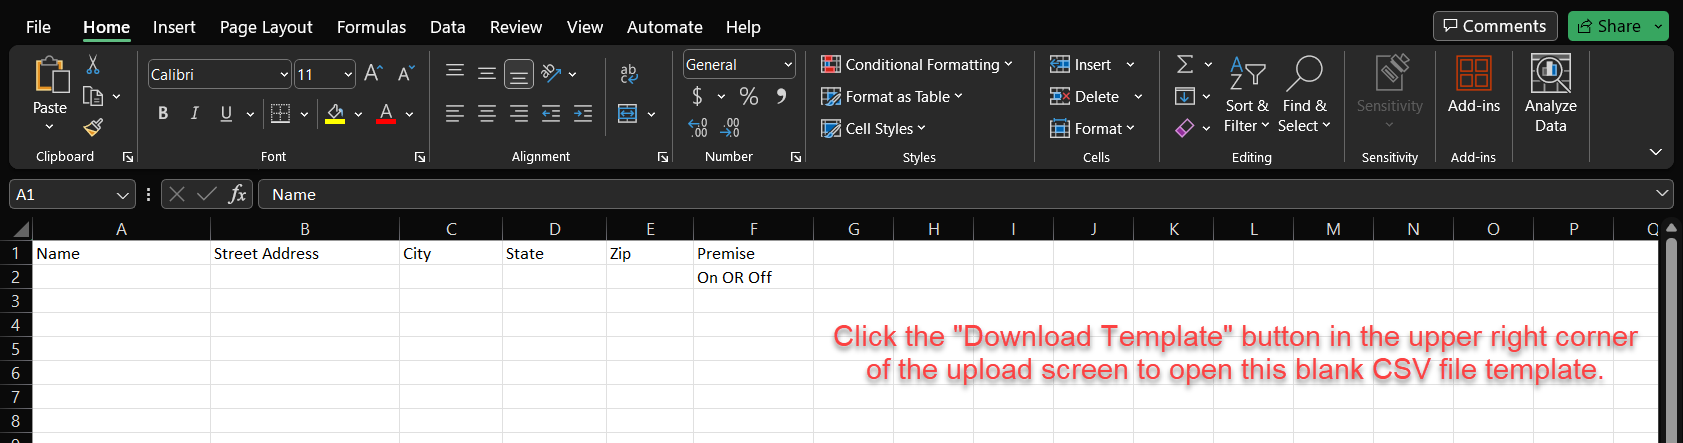
- You must use the CSV file template provided in the upper right corner of the screen. Click the “Download Template” button to download this template.
- The maximum amount of accounts that can be uploaded in a single file is 500.
- This “Bulk Account Upload” feature is not related to the "Target Account Upload" feature found under the “Setup” row of Settings bubbles.
How to use the Bulk Account Upload feature
- In the web version of Lilypad, navigate to Settings > Organization row of bubbles > Account Actions > Bulk Account Upload.
- Click the “Download Template” button to download a properly formatted CSV file. Fill in every column for each account for the upload to be successful.
- This upload feature will not work with an xlsx (Excel Workbook) file type.
- Do not change the column headers or their order. Changing any of the pre-formatted parts of the template will break the import.
- The “Premise” field for Row 2 shows “On OR Off.” This is just an example to show what options you have for the Premise column. Only choose 1 - “On” or “Off”
- All 6 columns must be filled in for each account row. Any empty cells in the CSV file will break the import.
- If the initial file contains commas in the account details in any of the columns, then the commas must be removed before changing the file to the CSV file type. This can be done by pressing Ctrl + F on your keyboard, switch to the “Replace” tab in the "Find and Replace" window, entering a comma ( , ) in the “Find what:” field, leaving the “Replace with:” field blank, then clicking the “Replace All” button. If commas are not removed, then when the file is converted to CSV format, new columns will be created where the commas existed, and the accounts will not import correctly when uploaded to Lilypad.
- The maximum number of accounts that can be uploaded in a single file is 500.

- Once your CSV file is saved, drag and drop the file into the “Drag and drop file here” box.
- Use the DISTRIBUTOR dropdown to select the distributor every account in your file will belong to. You can only select once distributor. If you need to upload several accounts that belong to different distributors, it's suggested to cluster accounts into separate CSV files for each distributor.
- Verify that the account information loaded correctly into each column. If you need to make any changes to a cell, click the “Edit” button at the top of the column to make changes. Click “Save” at the top of the column when you're done making corrections.
- Once you've finished verifying all accounts look good, click the Import Accounts button to import all of the accounts into Lilypad.
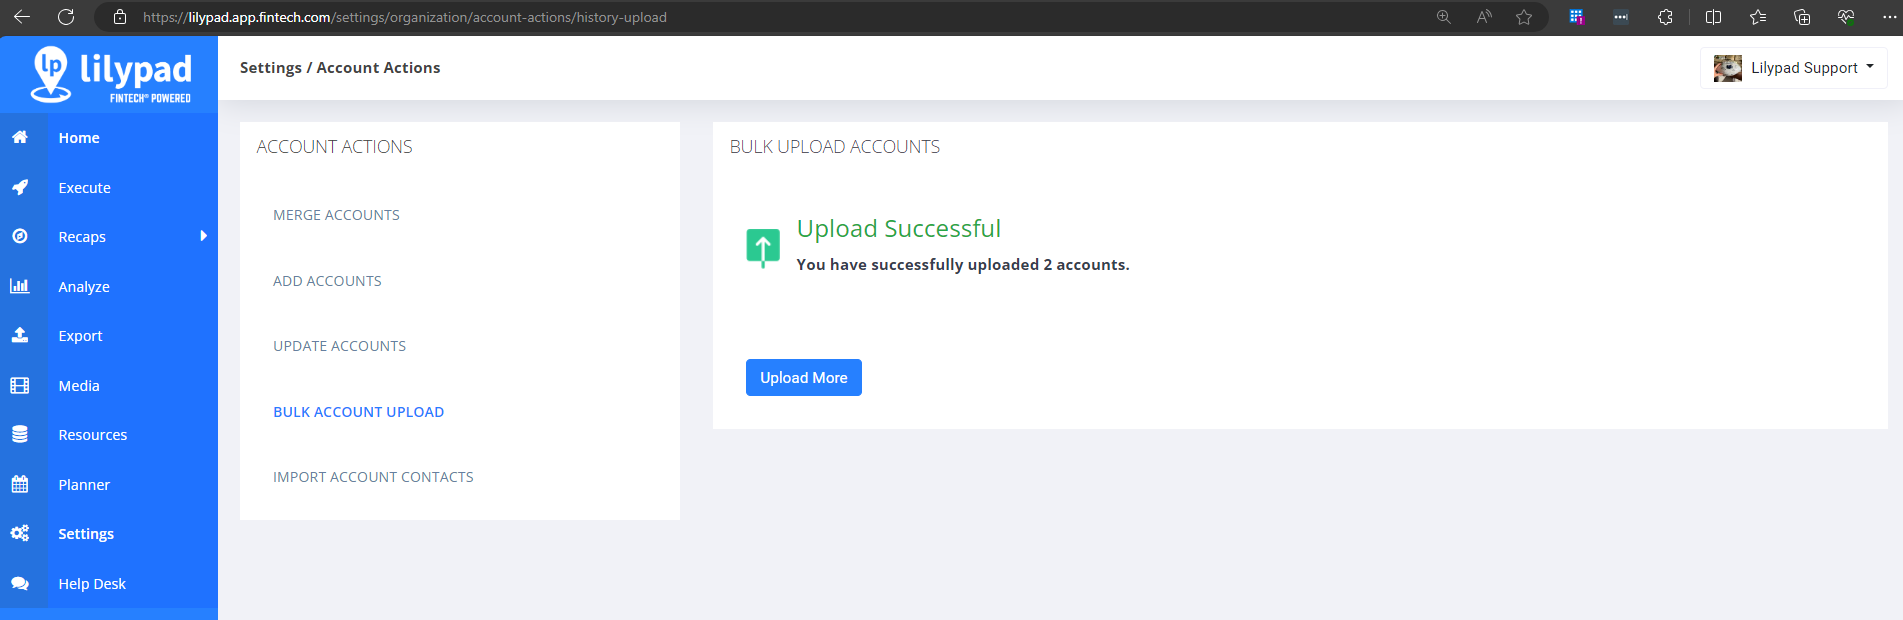
- You'll receive an “Upload Successful” screen with a button that gives you the option to Upload More accounts with another CSV file.