
Overview
The Update Accounts feature allows you to make changes to an account's basic information such as name, address, distributor, geo-location, or premise type if they happen to display incorrectly in Lilypad.
Important Notes
- In order to view the Account Actions bubble (which includes the “Update Accounts” feature) in the web settings, you must be setup as a Manager and an Admin on your user profile page in Lilypad. Navigate to Settings > Users > and select a user to make these changes.
- Edited information such as name and distributor may not appear on historical (older) logged items.
- If your organization receives 3rd party data, such as VIP, changes here will be overwritten when data next comes in. For this reason, this tool is primarily intended for use on manually added accounts or organizations that do not use 3rd party data. Manually added accounts have 2 asterisks (**) at the end of their account names.
- If the account is not manually entered, then the corrections will need to be made at the data source.
- Please contact VIP if you'd like to make changes to VIP accounts.
- Please contact the distributor to make changes to LP Data accounts.
How to use the Update Accounts feature
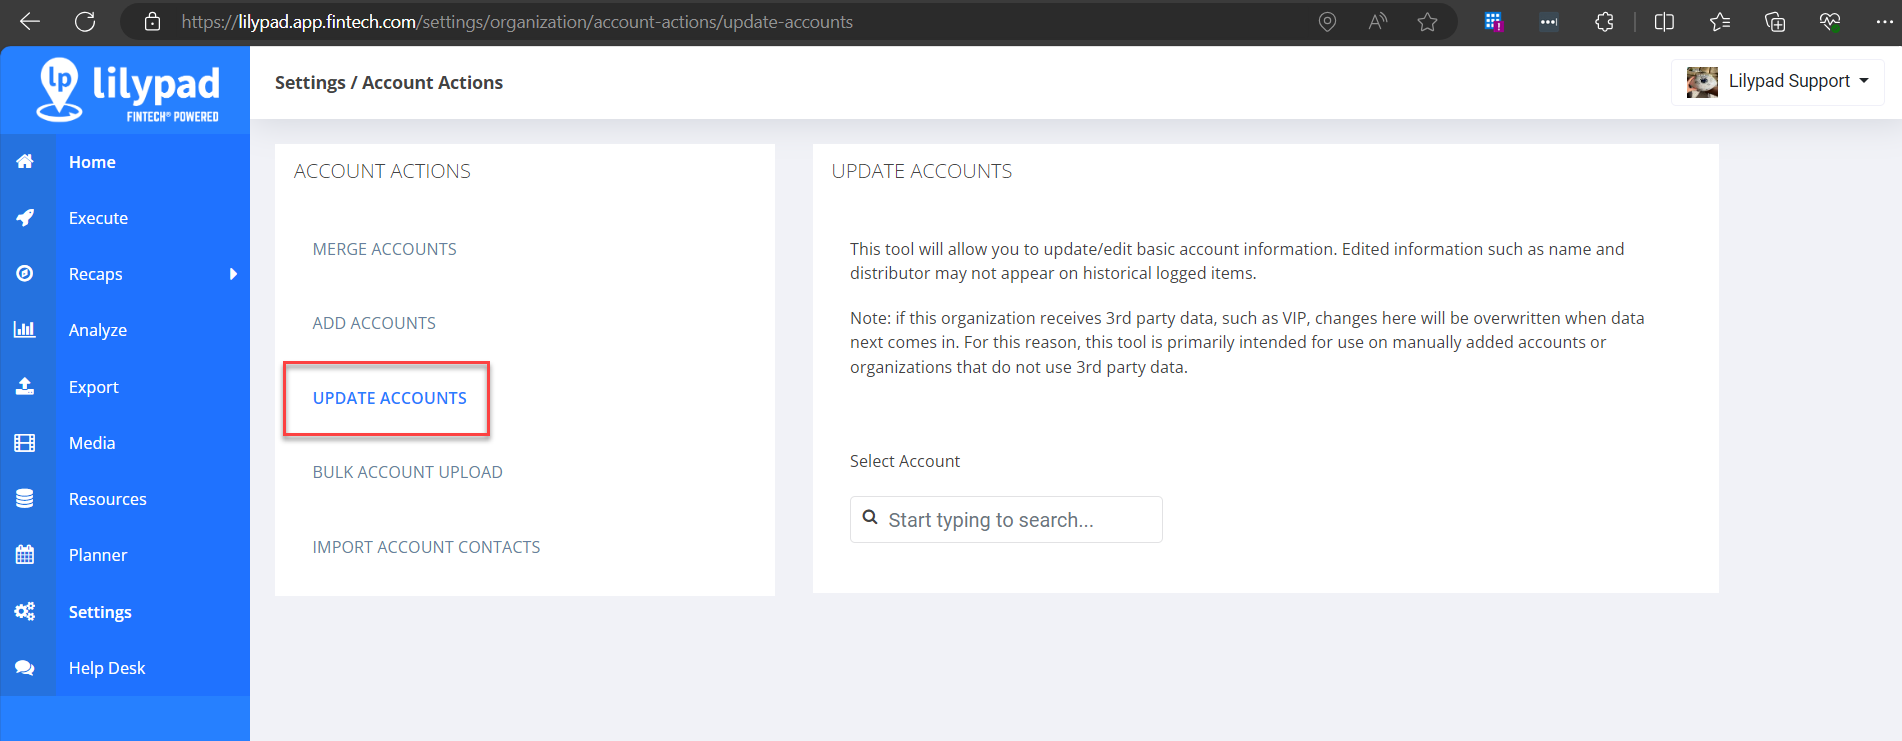
- In the web version of Lilypad, navigate to Settings > Organization row of bubbles > Account Actions > Update Accounts.
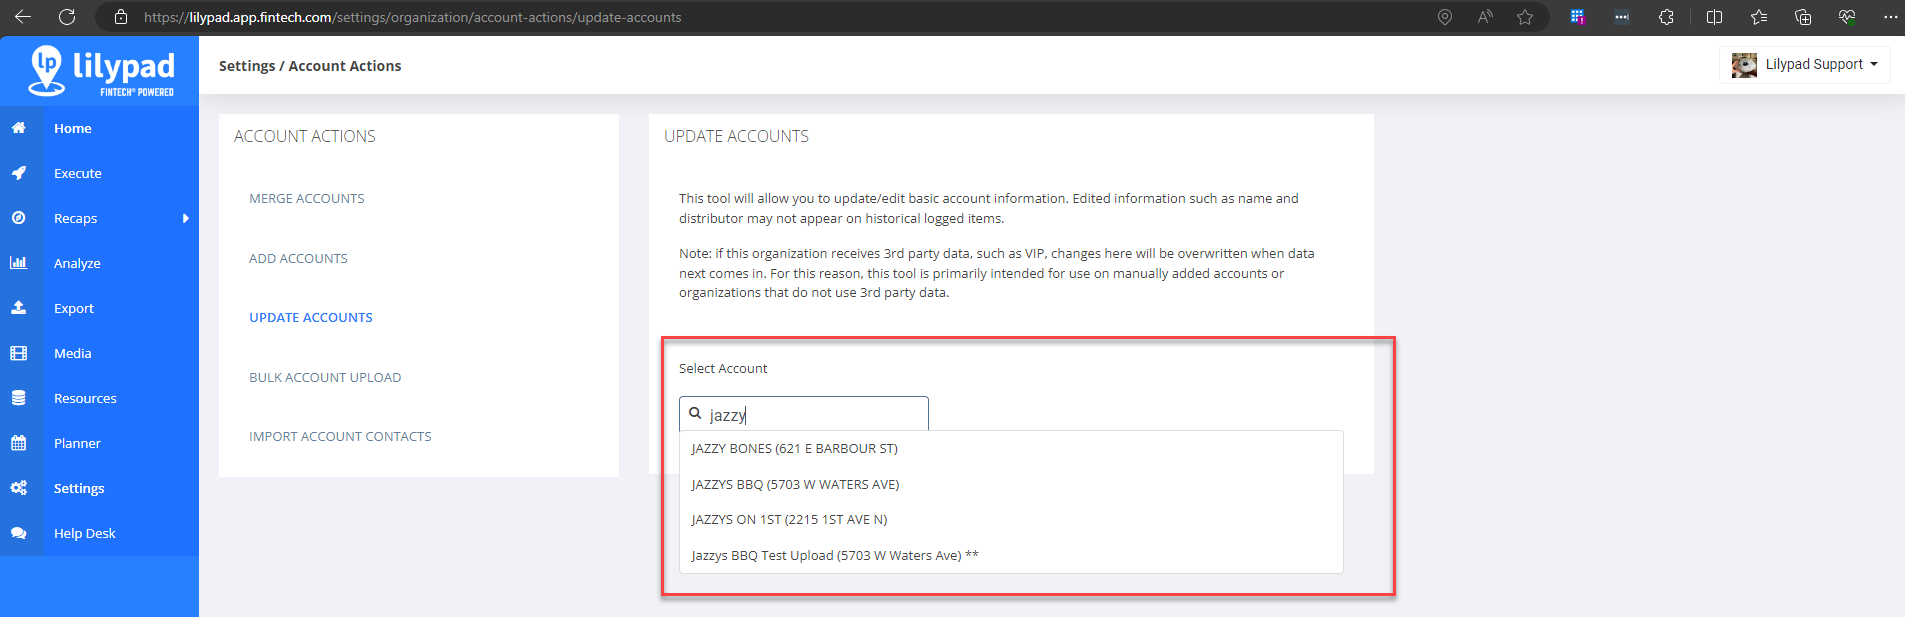
- In the SELECT ACCOUNT field, type the account name or address. An account search will run and all matching results will appear in a dropdown beneath this field.
- Select the account from the search results dropdown.
- You can make changes to any of the fields except the Account ID field.
- MAKE THIS ACCOUNT INACTIVE - Check this box to completely remove this account from Lilypad.
- DISTRIBUTOR - Select 1 or more distributors that service this account.
- ACCOUNT NAME
- ACCOUNT ADDRESS
- LATITUDE and/or LONGITUDE
- Latitude and longitude can be obtained through Google Maps. From there, search for the account's address. In the web address, the coordinates will appear as a string of numbers (ex. 27.9828227,-82.4980217). The first number is the latitude, and the second number is the longitude.
- PREMISE - select the radio button for “On Premise” or "Off Premise."
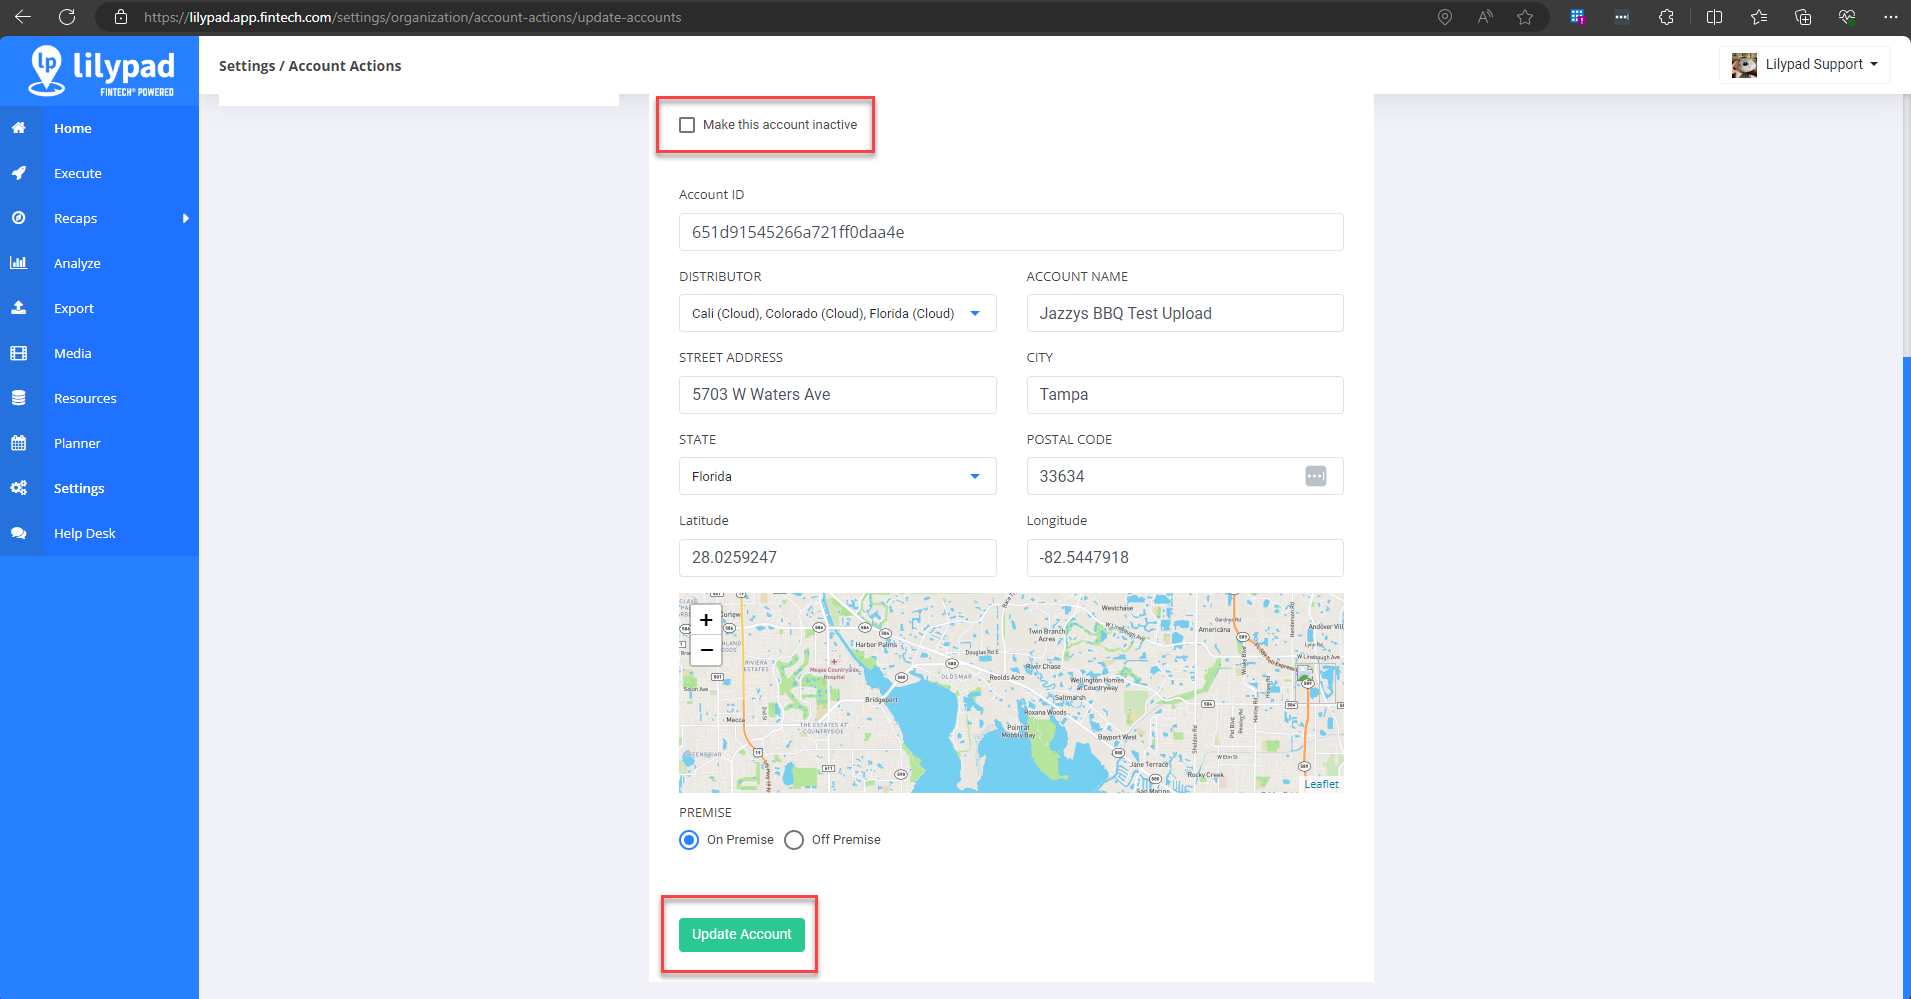
- Click the Update Account button to save your changes to this account. This button will remain disabled until you fill in all fields with valid values.